Showing posts with label kitchen. Show all posts

Wednesday, June 20, 2012

Teaching Better Table Manners

I say the same three or four things over and over and over and over again each meal.

"Sit down."
"Take a bite."
"Lean forward."
repeat ad nauseam and occasionally throw in:
"No singing at the table, you're supposed to be eating."


One day I decided to put five pennies in front of each child's place.  I asked them what sort of things I have to tell them at the table.  They easily chanted off everything I repeat over and over at each meal, proving that they are listening to me, just not obeying all the time.  I told them that if I had to tell them something like that, I would remove a penny.  At the end of the meal, whatever pennies they had left would be theirs to keep.

We've done this a couple different times and had good success with it.  Tonight Lucy ate her meal in record time and cleared her plate and cup without being told!  (She's usually the one I have to remind to "Take a bite.")  Who knew would only take 15 cents for three better behaved children at the table?  If they get tired of the pennies, maybe I'll use chocolate chips occasionally.  This is actually a great motivator for me to keep my mouth shut too and not just repeat my phrases unless really necessary, because then I have to take a penny from them.

Do you have any fun ideas for encouraging better behavior?  We need to work on our bedtime routine and behavior too...

Tuesday, June 5, 2012

Kitchen Tip Tuesday: Spaghetti

Spaghetti is one of our favorite easy meals.


My only problem is that the ratio is never right for leftovers; we always end up with more sauce than noodles or vice versa.  My trick lately is just to mix it all in a big bowl before serving it up.  Everyone gets just the right amount of sauce, and leftovers work perfectly too!  Don't ask me why it took me a couple years to figure this out...

See here for more Kitchen Tip Tuesday posts.  :)

Thursday, May 3, 2012

Gluten-Free Baking

I have not one, but eleven new ingredients on my kitchen counter.  Things I have never purchased, baked with, or even heard of before!  This gluten-free baking thing is not for the faint of heart.


I am finding The Healthy Gluten-Free Life to be an amazing resource!  The author explains all of the different flours and ingredients used in gluten-free baking.  Her recipes all have full page color photos and simple instructions.  I'm excited to start trying them.

Using the book as a guide, I made my shopping list at Vitacost:

whole grain teff (never heard of this!)
potato starch
potato flour (different from potato starch?)
sorghum flour
xanthan gum (not even sure how to pronounce these two!)
tapioca flour
whole millet
whole amaranth
coconut nectar (for coconut ice cream)
green pea flour (seriously, there is such a thing?)
almond meal

So far I've only made one simple recipe - Almond Lemon Cookies.  Julia was not a fan of these, but she doesn't like lemon baked goods anyway.  Lucy and Esther enjoyed them.  I need to grind up the teff, millet, and amaranth with my Vitamix dry container and then tackle gluten-free bread baking.  I'm a little scared of how it might turn out!


Tuesday, May 1, 2012

Silisipper Glass Tumblers

My bigger girls use glass cups at home, but Esther hasn't quite managed drinking from an open cup yet.    I was happy to discover the Silisipper that would allow her to use a glass cup too!


Esther was thrilled to have her own special cups to try out!  We received both the Picardie and Gigogne tumblers with lids to review.


We've been using them for a couple of weeks now.  Sometimes Esther ends up splashing water on herself.  I think it is because she tips the cup up before her mouth is on the hole.  Sillisippers do not have a valve or spout.  I'm actually fine with the small spills, because it is teaching her how to use a real cup.  These are very easy to clean and assemble.


I prefer the Picardie tumbler because it is narrower around and easier to grasp.  Silisippers are made of food grade silicone and extra durable glass.  There are four fun colors available to choose from.  You can also purchase glass bowls and plates to match.  The cups can even be used without the lids when the kids are older. 


We give Silisippers two thumbs up!

We received Silisipper tumblers for review.  All opinions are my own.

Tuesday, March 13, 2012

Freezer Food

My freezer stays pretty full.  We take monthly trips to Costco and purchase bulk bags of organic frozen veggies, chicken breasts, loaves of whole wheat bread, and more.  I love having all of that on hand, helping me avoid trips to the grocery store.  In the last weeks of my pregnancy I made a trip to Costco, the health food store, and Meijer, stocking up on anything and everything.  When I got home, I realized that I did not have much room left for storing freezer meals.  Even so, I managed to fit in a few things.  I am definitely enjoying the convenience of premade food right now.  Here is what I froze:

breakfast this morning

whole wheat muffins
coconut flour muffins with chocolate chips
granola bars
sloppy joe meat (I double the sauce and instead of more meat, use cooked brown rice.)
shepherds pie
cheesy mini burgers
I tried twice to double this chili recipe, but it was so good we ate it all before it made it to the freezer both times.

The granola bars have been nice for a late night snack.  I get sooo hungry, especially in these first days of nursing.  Oatmeal is great for milk production too, so thats a bonus!  I am still planning to double my recipes whenever I cook so that I have meals on hand for days that we need them.

What are your favorite freezer meals?

Saturday, February 25, 2012

Drinkbands

We recently purchased a set of little 6 ounce glass cups for the girls to use.  While they aren't perfect, (they could hold just a bit more), they are much better than the ancient tupperware cups that we were using.  I had no idea what type of plastic those were made of and had been searching for a better cup for quite some time.  Thankfully, we also got some Drinkbands around that time.  I don't know what I would do without them!


Drinkbands are fun silicone bands that slip on a cup to help you know which is yours.  My girls enjoy picking out a color every morning when they get their cups.  Without these, I have no idea how we would keep glass cups separate.  I also like that the Drinkbands provide a bit of grip for little hands holding the glass cups.  The bands fit our Kleen Kanteens and regular glasses as well.  I've sent Lucy with a banded Kleen Kanteen to ballet class just in case someone else came with the same water bottle.

We received a set of 10 colors to review.  They have since changed the colors a bit and have added a smaller size for bottles.  The set that we have is stretchy enough and fits both the small cups and the bigger grown up cups too.  Of course the pink, purple, light blue, and green are most often in use here, but we do have all girls!  ;)  We've used the Drinkbands for a couple of months now, and they still look like new.

If you have more than one child, or ever have company over , or have a husband who sometimes steals your glass - you need a set of Drinkbands!  Great invention!  Thanks to Drinkbands for sending us this set for review.


(PS: Drinkbands were created by the same people who own hardlotion.com, our favorite lotion!)

Monday, September 6, 2010

Replacing Kitchen Items

I've been slowly replacing items in my kitchen with safer, non-toxic choices.  I'm actually surprised at how much there is and how long it has taken me.  A couple of years ago we did a big overhaul, buying new pots and pans and even safer dinnerware.  Some things had to wait until we had more money to spend, and others just got overlooked.  Here is my hit list:

Bisphenol-A (BPA) - usually a clear hard plastic, can be labeled number 7 but there is no law requiring items to be labeled.  Check the ZRecsGuide for specific information on whether or not something contains BPA.

Plastic - I'm extremely picky about even "safe" plastics in the kitchen.  I do not like using plastic for anything that is going to be heated or have hot foods put in it.  Often its difficult to tell what type of plastic something is made of, and its just as difficult to try and track down companies and get them to answer your questions (I've tried!).  Tupperware and Pampered Chef unfortunately are both companies that are unwilling to be upfront about their plastics.

Non-stick coatings/ Teflon - This is a big one that I'm not sure we've fully eliminated from the kitchen.  The Environmental Working Group has pages of research about this.  Evidently its a well known fact among owners of canaries and other small birds that you must keep them away from the kitchen because fumes from non-stick cookware could kill them (small birds?  ...what about small children?).  I hate how the non-stick coating peels off after a while and then you're eating it.  Bleh!

Aluminum - In looking for non-non-stick bakeware, many of the options are aluminum.  I'm not comfortable with this either.


When shopping for new items I look for high quality stainless steel or glass products.  I recently got to replace our plastic colander with an All Clad Stainless steel colander from CSN Stores.  This one is very sturdy and comes with a lifetime guarantee.  Its expensive, but will last forever.  I also chose some Le Creuset spatulas - mini, small, and medium.  The spatulas have wooden handles and removable silicone heads.  They are made in the USA.  Both the colander and the spatulas are high quality, safe items that I enjoy using in my kitchen.  (Thanks, CSN Stores for the review items!)

We do still have things in our kitchen that I'm not comfortable with.  For example, our waffle iron has a non-stick inner.  I've been unable to find a good alternative.  Are there things that you are working on replacing as you learn more about toxins in your home?

Friday, August 13, 2010

Homemade Lemonade - Bosch Citrus Juicer Review

Back in June I posted about doing a review for CSN Stores.  CSN Stores sells a huge variety of things, table lamps, beds, cookware, and more.  Given the opportunity to browse, what do you suppose I looked for?  Kitchen items of course!


I chose the juicer attachment for my Bosch mixer.  I thought maybe this was just another item to clutter up my kitchen, but fresh lemonade sounded so good I just had to try it!  We use lemon juice in a few recipes (chicken tortilla soup, guacamole, etc) but I've stopped buying it because of the nasty preservatives included.  I had homemade lemonade at a friend's house recently and decided fresh was definitely the way to go.


The juicer fits on the mixer nicely, it sits down on the part where the bowl normally goes.  I'm awaiting documentation, but was initially told this is not polycarbonate.  I'll update this post when I find out for sure.


Ready to try this out, I washed some lemons, squeezed them a bit to loosen up the juices, and sliced them in half.  Turning on the mixer makes the white piece rotate.  I was afraid this might splatter juice everywhere, but did not have any problems.  It was easy enough to hold the lemon and let the mixer do all the work for me.


I was amazed at how cleaned out the lemons were.  The white piece strains out the seeds and bigger pulp, while the clear base fills up with juice.  I got 1 1/2 cups of juice from 6 large lemons in no time at all.  


We started with 1/2 cup lemon juice and 1/2 cup sugar to a pitcher of water, adding more to taste.  I like my lemonade pretty light, so this was perfect.  We also made lemonade using maple syrup, thanks to Laura's recipe.  Its soooo good that way!  

I need to put oranges on my grocery list for making fresh orange juice with, I'm sure that is amazing too.  I really enjoy my juicer attachment and give it two thumbs up.  I think we will get lots of use out of this.  I even froze the extra lemon juice in an ice cube tray so I will have it readily available for my recipes.  If you have a Bosch mixer, give this a try.

Monday, July 12, 2010

aden + anais burpy bibs


In my last post I discussed Esther starting solid foods and our picks for a safe high chair, sippy cup, and more.  I mentioned that plastic bibs can have lead in them.  Vinyl is one of the worst plastics because it often contains lead and phthalates - not something I want near my child's mouth.  We got rid of all of our bibs last year and only use cloth ones that I make.  We also recently got to try out aden + anais burpy bibs.  These are super cool because they serve double purpose as a burp cloth and as a bib.


The shape allows the cloth to drape perfectly over my shoulder.  I like that the cloths are soft and lightweight.  They are made with several layers of aden + anais soft cotton muslin fabric, so they are very absorbent.  There is a little snap attached on the back so you can easily fasten it around baby's neck to function as a bib.


After using bibs with snaps, I've sworn off velcro forever!  Velcro gets fuzz in it, and sticks to everything in the wash, not so with these.  You can see that Esther likes her new bibs.  They cover her up nicely and when she reaches her arms up, the bottom of the bib kind of rolls up and makes a little pocket to catch spills.  Did I mention that these come in super cute prints?  ...and that I love aden + anais products?  :)


Would you like to win a set?  aden + anais is giving one away!  These can be shipped anywhere in the US and the winner will be able to specify boy, girl, or neutral.  To enter, leave a comment letting me know what your baby's favorite food is.  For an extra entry become a fan of both One Little Word She Knew and aden + anais on Facebook and leave a comment letting me know you did so.  The giveaway closes on July 27th at midnight.

*Giveaway closed.  Congrats WWillow6!*

Friday, July 9, 2010

Starting Solid Foods


Esther is the happiest kid ever.  She is always smiling and loves to interact with people.  She can already wiggle herself around on the floor a bit and get into things.  Lucy likes to make her laugh and can really keep her going.  I can't believe our sweet baby is six months old already!  She's been trying to swipe our food and moving her mouth while watching our every bite, so we decided to let her try some things recently.

So far she's had mashed up banana (she's not quite sure what to do with it but she gets a big smile when we give it to her), frozen mango, and frozen peach in a mesh feeder (she loves that and really works hard on it).  We're taking a relaxed approach to feeding her, letting her try small bits of fruits and veggies rather than spooning lots of food into her mouth.  She still nurses frequently and up until about a year I'm not concerned about her needing anything other than mommy milk.  Here are some of the things we're using now:


high chair - Lucy and Julia both still use a Fisher Price Healthy Care Booster Seat, which we love but we didn't have another chair available to strap one on to.  In looking for a high chair, many have vinyl padded seats that we wanted to stay away from.  Vinyl is one of the worst plastics because of the phthalates that are added to keep it soft.  It can also contain lead.  The high chair we got from Ikea is made of polypropylene, one of the safest plastics.  Its still a bit big for her, so we tuck a towel in with her.  It is priced very inexpensively, and a tray is available for it as well.

bibs - Bibs are another place that lead can hide.  Wal-Mart even issued a recall for some bibs with high lead levels.  We got rid of all plastic bibs and have a stash of homemade ones that work great.  My bibs even have snaps on them so we don't have any more velcro chains in the wash.  If you're not interested in sewing, aden + anais has some great bibs that I'll post a review and giveaway for soon.


utensils - We have inexpensive Gerber bowls and spoons.  I double checked the Z Recs Guide to be sure they were all safe.  I do not put hot foods in the plastic though, and we hand wash them rather than using the dishwasher.  Esther also likes the mesh feeder we have.


cup - Gerber sippy cups work well for us.  I just got a new soft spout cup as the old version of this did have BPA in it so we tossed it.  Esther was so excited to have her own sippy cup and put it right to her mouth.  She doesn't actually drink out of it yet, but she is pretty proud of herself.

Happy 1/2 birthday Baby Esther!

Tuesday, June 22, 2010

Living Without the Microwave


Its been one month since I banished our microwave to the basement and decided not to use it any more.  There were a few moments when I actually said out loud "Why on earth did I do this to myself?".  In reality though it only took a bit of extra thought to figure out how to heat things up.  My husband thought I was a little crazy, but he has gone along with it and hasn't complained.  I asked him last night if he missed the microwave and he said that he did not.  I honestly do not miss it either and I'm rather surprised about that!

My tea kettle, toaster oven, and skillet have served me well.  We eat a lot of leftovers, but heating them has not been as hard as I thought it might be.  Here is some of what we do:

casseroles - warm in the toaster oven in a small dish (this can take a while, so plan ahead)

leftover Chinese food - heat in a skillet on the stove with a bit of extra water or oil (doesn't take long at all)

leftover spaghetti - mix sauce and noodles and bake in toaster oven

leftover noodles (the girls like noodles with butter and parmesan cheese) - boil water, dip noodles in the water for just a minute or two and then pull them out

soup - warm in a pan on the stove

heating water - use the tea kettle

leftover fajitas - heat chicken mixture in a skillet; to warm the tortilla put it over top of the pan while the mixture heats up

I have been surprised at how quickly the food heats up.  It tastes better, like real food instead of rubbery and its evenly heated.  The extra counter space is nice too.  I've had space to keep my grain mill out and have used it to try a few new things that I'll share with you soon.  Sadly though, my counter doesn't look as clean as in that photo anymore.

linked to Kichen Tip Tuesday

Saturday, June 5, 2010

Safe Popsicle Molds


My girls love homemade popsicles on a hot summer day! *I* love homemade popsicles because I can control what goes into them. All I have to do is put some organic vanilla yogurt or juice in a popsicle mold and my girls think its a super special treat.  In my never ending quest to rid my kitchen of BPA and unknown plastics, I set out to find a safe popsicle mold.  Although the ones I had were not the common BPA suspect (clear hard plastic), they also were not labeled with a number of any kind and I had no way of telling what type plastic they were made of.

Kinderville makes a silicone BPA-free popsicle mold that is cute and fun.  We received a set for review and have been enjoying lots of popsicles ever since.  My girls had to get used to the idea of pushing up the popsicle, but these actually work pretty well at containing drips.  To use the mold, you hold it upright, fill it, and then fit the cap on.  It can be a little bit tricky to find a good place in the freezer to stand these up.  Whatever you do, don't slip it through the slots in the shelf rack because it will expand and get stuck there and then you'll be standing in front of the freezer having a big fight with your popsicle mold and shelf.  Yeah, don't do that.

I rinse the molds as soon as we are done with them and they clean up easily that way.  A nice feature is that if your child doesn't finish the popsicle you can just pop the lid back on and return it to the freezer.  We will definitely be getting lots of use out of these this summer.  If you'd like to try these yourself, you can use the code FREE40 for free shipping with the purchase of $40 or more at the Kinderville store.  While you're there, check out the other great products available.  Thanks Kinderville!  

Wednesday, May 19, 2010

Goodbye, Microwave!


Notice anything different? Yep, lots more counter space! A friend posted a link on Facebook to an article on the dangers of using a microwave. I've read the article before and seeing it again was just the prompting I needed to get rid of mine. Its not actually gone, just downstairs. If we can get by without using it for a while, I'll get rid of it for good.

You can read the article for more information. A few things stand out to me:

- Its a commonly known fact that you can't heat breastmilk in a microwave, it destroys the nutrients. Why would this be different than any other foods? I'm doing the best I can to provide my family with vitamin rich, healthy foods and don't want the microwave working against me.

- There are no studies that I am aware of proving that a microwave is safe to use. In general, I'm just not messing around with my kids health any more. Too many people I know are fighting cancer or other serious diseases without a known cause. If there is something I can do to keep my family healthy, I'm going to do it.

So what are we going to do when we can't quickly heat dinner in the microwave? I don't know! I'll just keep lots of fresh carrots on hand to eat. Good thing my kids like peanut butter and jelly sandwiches. Stay tuned to see how this goes... (This article on reheating foods without a microwave makes it seem pretty easy.)

Saturday, April 3, 2010

Seventh Generation Giveaway


Just in time for Spring Cleaning, we have a giveaway from Seventh Generation! They have a new line of botanical disinfectants including a bathroom cleaner, multi-surface cleaner, and disinfecting wipes. The disinfectants contain thymol, a component of the herb thyme, and can be used on hard surfaces including counter tops, plastic cutting boards, highchair trays as well as children’s toys. They kill over 99.99 percent of germs* naturally and are effective against the Influenza A Virus, including H1N1. *Refer to product label for full details.

I received a kit of Seventh Generation products to review and have another to giveaway! (The Seventh Generation Products, information, and additional prize pack were all given to me from Seventh Generation through My Blog Spark.)


Seventh Generation has partnered with eco-lifestyle consultant and author, Alexandra Zissu, whose new book, The Conscious Kitchen, discusses what’s good for your health, what’s good for the planet and what tastes great. I've enjoyed reading through this book. Here are some of her great tips on maintaining a green and healthy kitchen, including:

  • Change is Good
    Choosing cleaning products without indoor air pollutants like volatile organic compounds, or VOCs, is a simple and effective way to reduce your indoor air pollution. If you’re not prepared to switch everything overnight, start by swapping out the one product you use the most, and moving forward from there.


  • Think before you spray
    Residues from cleaning products can last on a surface for longer than we we’d like to know and travel to areas that we sometimes don’t intend them to. Don’t contaminate your food by prepping it on a surface that may contain harsh chemical residues - rinse cleaning products from food preparation surfaces carefully or use botanical disinfecting cleaners that do not require a rinse step.

  • Home is Where the Clean Is
    Your standard cleaners are good for removing soils and dirt from kitchen surfaces, but to tackle germs you need a cleaner that is effective against microbes like bacteria and viruses. Many cleaners contain ingredients that have antimicrobial properties such as vinegar or hydrogen peroxide, but the germ killing power of these is not necessarily guaranteed. To be sure you are killing germs, use an EPA registered disinfectant. Seventh Generation tapped into the disinfecting power of the common garden herb thyme, to provide a disinfecting cleaner that kills germs* naturally.

  • Make the Old New Again
    Think twice about the items that you’re using to clean and dry your kitchen equipment and dishes. Use rags (like old t-shirts and washcloths) instead of paper towels. If you aren’t prepared to kick your paper towel addiction just yet, use only recycled versions that are unbleached or haven’t been whitened with chemicals containing chlorine and see how long you can make a roll last.

  • The Writing is on the … Sponge
    Be sure to read the fine print on sponges and only purchase those that do not contain antimicrobial pesticides. Remember to store sponges in a dry place and frequently clean them by popping plastic sponges wet in a microwave for two minutes or boiling sponges for three minutes in water.

  • Mom Was Right, Wash Your Hands
    Wash your hands with soap and water before and after prepping food, and always before eating. So much of what can be potentially harmful in a kitchen can be reduced by this simple act that doesn’t require any harsh chemicals whatsoever.
What did I think of the Seventh Generation products? We've been making our own cleaners for some time now, and I think this is a very important step you can take towards having a safer home. I had never tried anything from Seventh Generation before and it all seemed to work well. I really don't like the thyme smell, but its much better than a chemical smell and dissipates fairly quickly. I do wish that they disclosed the ingredients right on the bottle; you can go to their website to see a full list. I think this is a great "safe" option and I'm happy that its available. I'll probably keep a bottle of this on hand for times when we are all sick and I need to disinfect everything.

The paper towels are, well, paper towels. Not the greenest thing to use, but I have to admit I do still use paper towels from time to time for art project clean up or cleaning the toilet. These are a nice option to have.

Would you like to try these out? One winner will receive a kit as shown in the photo above. Leave a comment being sure to include your email address. You can leave extra comments for following my blog, and for being an email subscriber to my blog. This will close April 16th at midnight.

*Giveaway closed. Congrats Tina!*

Monday, March 29, 2010

Muffin Tin Monday + Giveaway!


Well, I totally skipped a week - we did colors of the rainbow instead of blue/ purple for Muffin Tin Monday, oops. Our tin was so pretty and fun that we'll probably just do the same again next week! I had Lucy help plan what to put in the tin, choosing one item for each color. We had cherry tomatoes, carrots, yellow pepper, broccoli, frozen blueberries, and grapes with sides of ranch for dipping. The peppers were new for us and Lucy said they were her favorite item in the tin! We had macaroni for lunch and put the tin in the middle of the table for everyone to share. See those adorable little cups? They are Dippy Cups, an awesome new find!


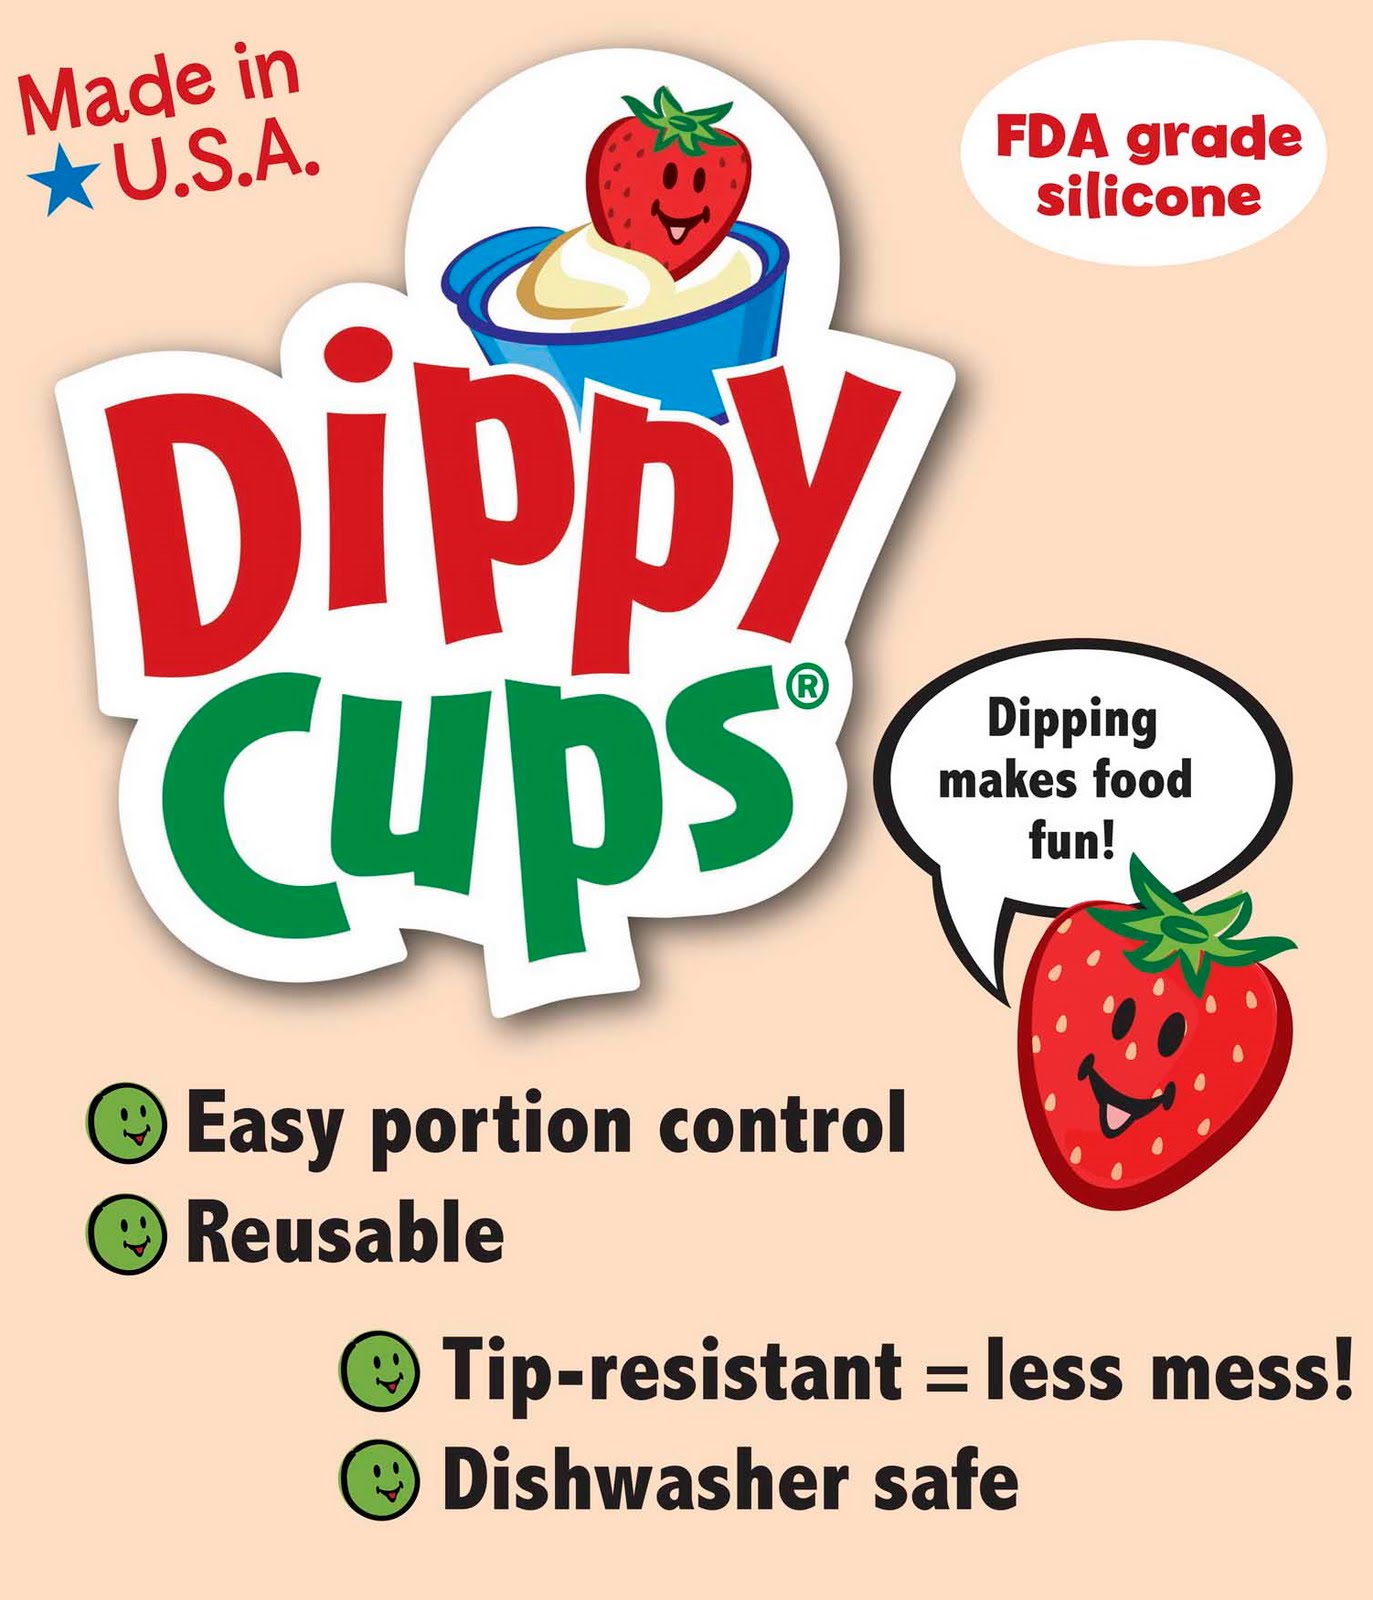
Dippy Cups are little silicone cups perfect for ketchup, ranch, BBQ sauce, yogurt, and more. They are a perfect small size and we've been using them constantly since receiving them for review. See, I even took picture of a few meals: (Yes, I'm a well trained Muffin Tin Mom, lol.)


The great thing about these is that they are super easy to clean up. They don't have ridges like the silicone cupcake liners do, so food doesn't stick inside them. I'd highly recommend any mom with young kids have a set of these on hand! It also saves me from hearing the "my cheese is touching my ketchup" complaints. Dippy Cups were invented by a mom (of course!), and you can purchase them directly from their website. They come in a package of 6 bright rainbow colors.

I also have one package to give away. Leave a comment on this post letting me know why you think you would love Dippy Cups. You can leave extra comments for:
- following my blog,
- being an email subscriber, and
- blogging about the giveaway (linking back here and to the Dippy Cup website).
I'll close the giveaway next week Monday, April 5 at midnight. Thanks for stopping by!

(There is still time to join the Bake and Take Day fun here!)

*Giveaway closed. Congrats Susan!*

Friday, March 26, 2010

Bake and Take Day


I'm definitely not an expert bread baker yet but we had fun with Bake and Take Day! I first made a batch of zucchini bread and took some to a friend who needed a smile. I had big plans for making my whole wheat bread and taking it to a neighbor while still warm, but it took 4 hours to rise and was ready at 10pm. I'm not sure what happened other than I didn't use fresh ground wheat this time and I'm still a novice. The bread was delicious though. I asked Lucy and Julia who we should take the bread to and they chose our sweet neighbor Katy. She and her husband have a little two year old boy that my girls enjoy playing with. Both my zucchini bread and whole wheat bread recipe make two loaves so they are perfect for sharing. I think we'll be Baking and Taking more often!

I've been using the bread recipe from A Beginners Guide To Baking Bread by Marilyn Moll. Its got lots of helpful tips for getting started with bread baking. I'm excited to try some of the variations like bread sticks, cinnamon bread, herb bread and more. Mmmmm! Two lucky participants will each win a copy of this book. To be considered for this giveaway you need to enter your name and email address here at The Urban Homemaker. While you're there, take a look around at all of the other great products they offer. I'm tempted to invest in more of her cookbooks soon.


Laura at Heavenly Homemakers is offering a giveaway as well. What To Do With Your Kids In The Kitchen is a fun little ebook with simple recipes to create with and for your kids. I got to preview this ebook and we are definitely going to try some of the recipes. To enter this giveaway, simply participate in Bake and Take Day by blogging about your adventures and linking up at the bottom of this post.


Did you participate in Bake and Take Day? What did you bake? Who did you take it to? Write up a post on your blog and link up. Please remember to link directly to your post about Bake and Take Day rather than your entire blog. I'll leave Mr Linky open for a week so that you have time to get your blog posts up. Winners will be announced next Saturday, April 3rd. Thanks for joining the fun!

The giveaways are now closed. No one entered the giveaway for the ebook by participating, so there isn't a winner. Courtney and Tanya each won a Bread Baking book and have been contacted for their addresses.


One Little Word She Knew


Tuesday, March 9, 2010

Clumpy Brown Sugar


The other day I needed brown sugar for baking and realized that mine was all clumpy and hard. It was so hard I couldn't even break the clumps with a fork. Shaking the container as hard as I could did nothing except scratch up the plastic! I thought I was going to have to throw it all away but decided to look up remedies online first.

One trick that sort of worked was to put some of the brown sugar in the microwave with a cup of water and heat it for several minutes. It was still pretty hard after that and I had to break up each clump with a fork. Enough sugar came loose to bake my cookies and then I decided to try another trick I had read. I just put a piece of bread in the container and closed it up.

About a day and a half later I opened the sugar and was amazed! It was the softest fluffiest brown sugar I had ever felt. The clumps didn't even have to be broken up, they just fell apart. Of course my next thought was... Kitchen Tip Tuesday! I also bought a brown sugar bear so that I don't have clumpy sugar ever again. I haven't used it yet so maybe that will be another post some day.

For more kitchen tips, check out Kitchen Tip Tuesday at Tammy's Recipes. If you haven't already, mark your calendars for Bake and Take Day! Thanks for stopping by.

Saturday, March 6, 2010

Bake and Take Day

March 27 is Bake and Take Day!

"Bake and Take Day began in 1970 as a community service project of the Kansas Wheathearts in Sumner County. The Kansas Wheathearts, an auxiliary organization of the Kansas Association of Wheat Growers, set out to share baked goods with family members, friends, neighbors, and those in need, generating goodwill in the community. The idea of a community member sharing a favorite recipe with someone special became so successful that the Kansas Wheathearts created a national Bake and Take Day celebration in 1973." link

On March 27th, bake something with wheat in it and take it to a friend, neighbor, or person in need. I'm excited about this and think its such a fun idea. Bake and Take Day is sponsored by wheat commissions across the country.

-The Kansas Wheat Commission is partnering with Stafford County Flour Mills Co to offer a cash prize drawing to participants. You can enter using the form on their website.

-The North Dakota Wheat Commission is also sponsoring this event and offering some recipes to try.

On March 27th I am going to host a Mister Linky here. I'd love for you to join us for Bake and Take Day and post about it on your blog. Feel free to share your recipe, photos, who you took the baked goods to and more! Come back here on March 27th and link up. One lucky participant will win a great book on bread baking and another will win an great little ebook What To Do With Your Kids In the Kitchen. Thank you to our sponsors, The Urban Homemaker and Heavenly Homemakers. For now, grab my button and help spread the word about this event.

Leave a comment and let me know if you plan to participate. I'm excited to see what everyone does. This would be a perfect time to try baking bread if you haven't yet, although anything with wheat in it counts. Do you have a favorite recipe you use for giving food gifts?

One Little Word She Knew

Tuesday, March 2, 2010

Baking Bread

Reader Question:

"I actually haven't ever made bread before and I'm pretty sure that I'll have to make it a dozen times or so before getting it right, but I don't know where to start. I thought if you had a recipe that is reliable, it'd be worth a shot for me to try it.
Any thoughts? Also, I don't have a mixer...is that a problem? Have you ever had to actually knead dough?"

I haven't made bread all that much myself yet either! The recipe that I used the other day was great, but I did use my Bosch mixer to knead the dough. You can knead dough by hand, in a mixer, or in a bread machine with the same recipe. I have used my bread machine before to knead the dough and then I dump it out and bake it in the oven. Bread machines can be found inexpensively at garage sales or on craigslist, so that might be a good option if you don't want to knead dough by hand all the time.
The recipe that I used recently for whole wheat bread was from A Beginner's Guide To Baking Bread. This is a great e-book with lots of tips on bread baking and getting started.

My library has this dvd on baking bread so I'm going to check that out soon.

Here is a great tutorial on bread making with a video on kneading dough. I haven't tried this recipe, but it looks very similar to what I've used.

A reader shared her bread recipe with me in the comments on this post.

And another recipe with tips on how to bake bread. She also answers questions in the comments section.

Have fun!

Monday, February 22, 2010

Nutrimill Review: How It Works


(Check out the Nutrimill Review Part One here.)

When shopping for a grain mill, I chose the Nutrimill for a few reasons. First of all, it has a lifetime warranty. It is supposed to be one of the quietest electric mills. It adjust to grind either coarse or fine flour, and seemed relatively easy to use. I considered other grain mills, but most have clear plastic parts that I suspect have BPA in them. The Nutrimill is made of ABS plastic, which would be safe. The lid is a flexible plastic to help with sound absorption.

I have to admit that I was rather intimidated by the Nutrimill. I'm not sure why because it really wasn't hard to use at all. It is pretty noisy, like a loud vacuum cleaner, so Ross had to take the baby into the other room. Lucy and Julia went running too. It didn't take long to grind the flour though. All you do is pour the wheat into the top and turn it on!

I had Ross try the flour and he agreed that it tasted fresh and less bitter than typical whole wheat. We made some fresh bread right away with my Bosch mixer to further test my theory (that fresh flour tastes better). It only takes a few ingredients to make bread and it was pretty easy to do in the mixer. It did end up taking me all evening to grind the flour, wash the mill, mix up the bread dough, wash the mixer, and bake it. All of this was in between nursing Esther, changing diapers, doing laundry and more. I found it a bit time consuming, but the fresh bread was wonderful. We decided it was the best bread I've ever made!


The Nutrimill is pretty big and finding space for it in my little kitchen was a challenge. It has a 20 cup bowl capacity though, which will be nice if I ever decide to make big batches of bread dough. Overall I'm happy with the Nutrimill and am glad to be able to feed my family fresh whole grains. I'm hoping over time to perfect some recipes for tortillas, bagels, pizza dough, etc. and regularly make these things at home.

Everything Kitchens was great to work with. They have fast shipping and friendly service. If you read my Bosch mixer review you already know that they donate 1% of all proceeds to World Vision. They offer free shipping on most things and a best price guarantee. If you give them a call and ask, the sales people can even give you a discount. I recommend shopping with them for all your kitchen needs. If you're interested in grinding fresh flour, I recommend the Nutrimill.