Showing posts with label tutorial. Show all posts

Sunday, January 19, 2014

Fabric Pennant Banner Tutorial


I've been wanting one of these for several years now!  As a child, we had a paper "Happy Birthday" banner that hung in our kitchen whenever someone had a birthday.  I loved it so much that I wanted a special homemade fabric one to use with my own family.  I'm not sure why I waited so long.  It was so easy to do that I whipped up another and took photos along the way for you.


This banner is smaller than the birthday one, and says "Lemonade" on it.  The kids like to do a lemonade stand in the spring and this is going to be a fun touch.  :)  I chose three fabrics for this one, it doesn't take much of each.


I first drew a triangle shape on a manilla folder and cut it out.  My birthday banner triangle was 7 inches across the top and 9 1/2 inches from the center of the top down to the point.  The lemonade banner was smaller, 5 inches across the top and 7 inches down to the point.  Obviously you can make these any size you want.


Place your fabric so that you are cutting through two pieces at once; you'll want both a front and a back for each triangle.  As you can see in the photo, they can be cut right next to each other.  Take into consideration which way you want the fabric's design to be.  (Zig-zags going up and down, or sideways?)


Sew each triangle, right sides facing each other, down one side and up the other, leaving the top open.  As in the photo above, snip off just the tip of the triangle so that there is less bulk in the tip when you turn it.

Turn the triangle right side out, using a pencil's eraser end to be sure the tip is completely turned.  Sew down one side and up the next, just as you did before, still no need to sew across the top.  This gives the pennant a nice finished look and helps it to lay flat.  Clip your extra threads as you go.


After you've finished sewing the triangles, you can work on your lettering applique.  (Sew Sara has a great tutorial on this here too.)  On the computer, choose a font and print size that you like.  You can make the letters outline only to save on ink.  Print your design and double check that the size of the letters will work on the triangles.  Adjust and print again if you need to.  When you are happy with the size, flip the paper over and trace the letters so that you can see them clearly.

Place your Heat N Bond Lite over the letters and trace them again, being sure they are still backwards.


Cut around your letters in a big rectangle and iron them on to the fabric you are using for them.  (I used an extra thick white so that the colors of the other fabrics wouldn't show through my letters.)


Cut each letter out.  Using a ruler, decide on a good distance for the letters to be from the tip.  (Hint: use your fattest letter to be sure it will fit where you want to place it.  The "M" wouldn't have fit any lower down.)  As long as you use this same distance, your letters should be aligned nicely.


 Iron them all on, and lay out your design.  You probably have already thought about what colors you want to place where and ironed on the letters accordingly.  :)  I have a blank lemon print triangle at the front and end of my banner.
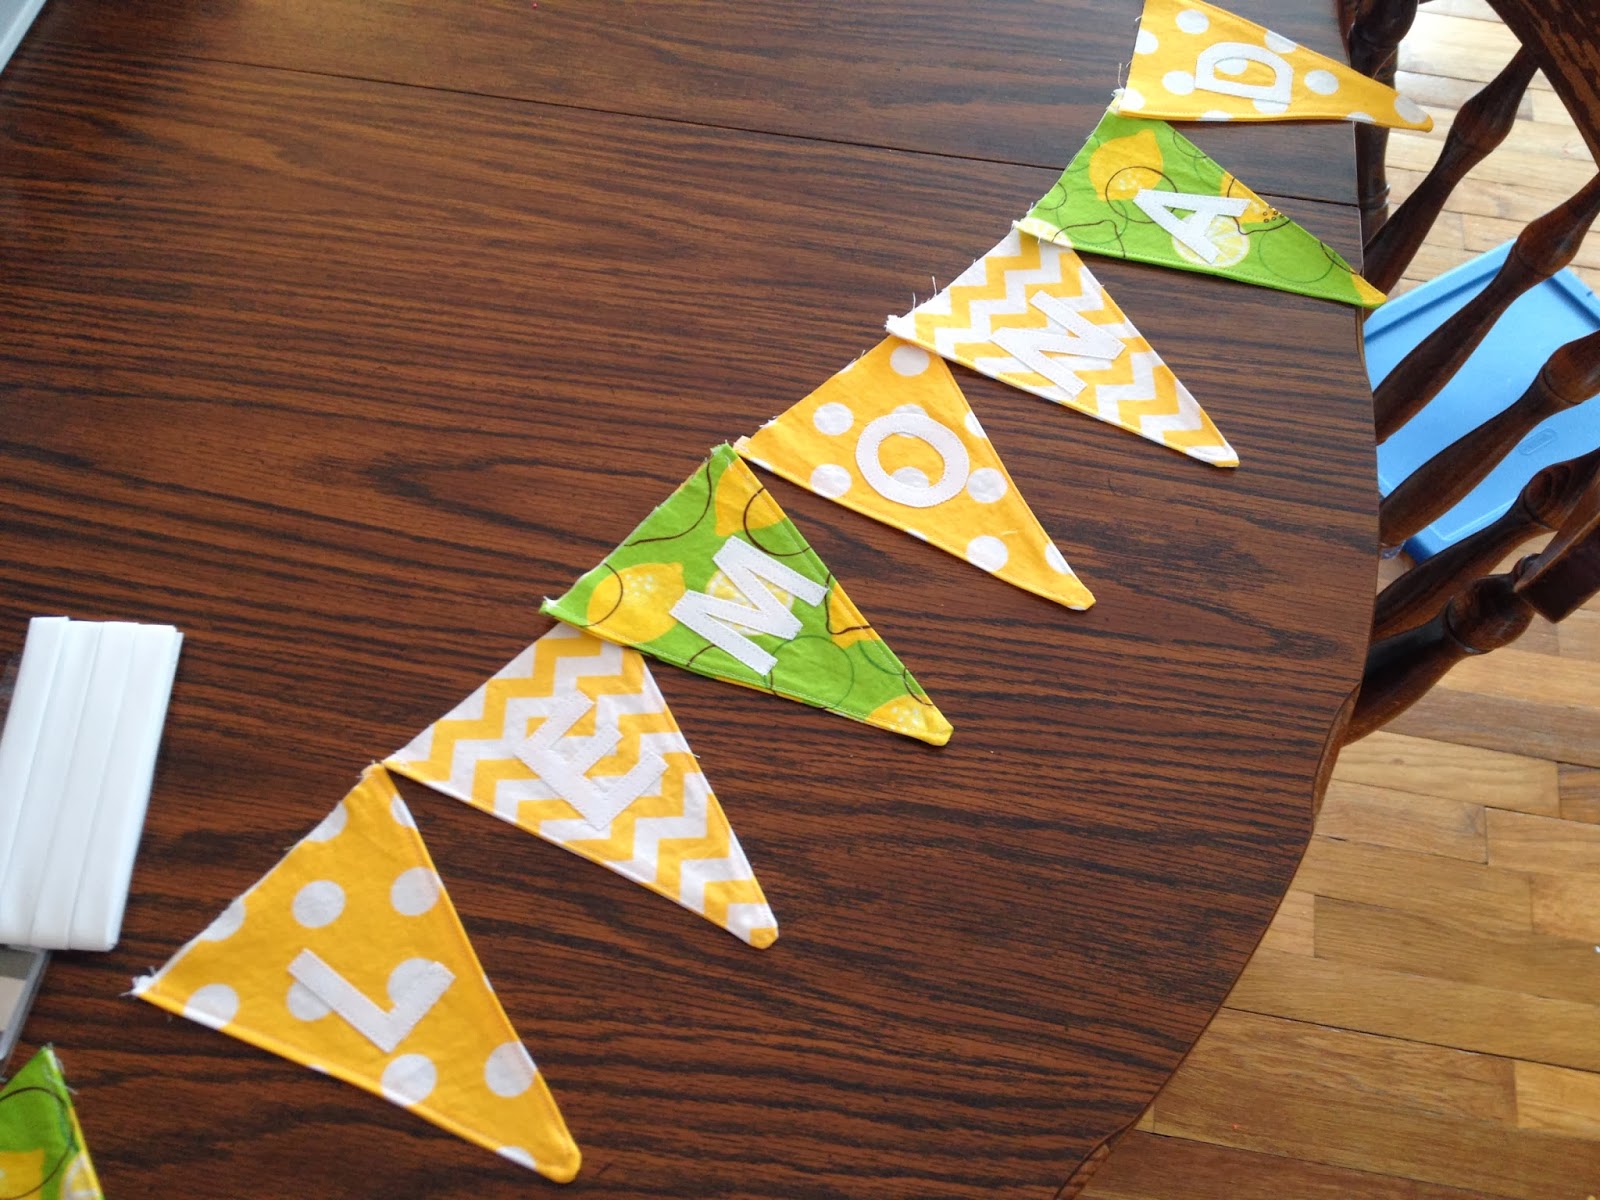

You can see in the corner of this picture that I have some white double fold bias tape to use as the top string.  I used one 3 yard package for the lemonade banner and two packages for the birthday banners.  Find the center of that tape, and then find the center of your letters.  Starting there, sew down one side, adding in the triangles as you go.  After you get to the end of the banner, keep sewing to close the bias tape, all the way to the end.


You will then go back to the middle of the tape and sew the other direction, putting in the rest of the triangles going toward the other side.  Again, sew all the way down the bias tape, closing it up.


You're done!  Admire your handiwork:


Here is another one I made in Barefoot Book colors, to have at my parties or vendor shows:


Let me know if you end up making one, I'd love to see photos.

Friday, August 9, 2013

Pinterest Find: Toothbrush Travel Towel

I love easy sewing projects!  This one didn't take long at all (except for the pulling Isaac off the chair, away from the sewing machine, off the middle of the table, and so on...).  :)


This was my Pinterest inspiration.  I grabbed the hand towel today at Kohl's with one of those $10 off anything in the store coupons.  Some of the other towel toothbrush holders I saw on Pinterest had pretty ribbons on them, but I decided to use elastic so that the kids could easily close it up.


A few tips:
wash the towel before sewing.
put the ribbon or elastic in the side seam before you sew that up.
make your spaces a variety of widths to fit various sizes of toothbrushes.
make some big spaces for toothpaste.


I love this!  No more gunky plastic baggies or toothbrushes getting germy and infected.  I can just throw this in the wash and be all set.  I am excited to try it out on our upcoming cottage vacation.


Easy peasy!  Let me know if you have any questions.

Wednesday, January 30, 2013

Valentine's Day Rag Wreath

I convinced the kids to let me take down the Christmas tree by telling them we could decorate for Esther's birthday party.  After the party (Jan 8) they wanted something else to decorate for, so we jumped right into Valentine's Day!


One of my Christmas gifts was this awesome rotary cutter and mat.  I gave it a workout cutting hundreds of fabric strips.  I used four different fabrics, cutting each into 9" x 1" pieces.  We made two wreaths (one for Grandma's house) and I think we used about 3 yards total of fabric.  I'm not sure exactly though, as I did have to run back to the store for more and I can't find my receipts to check.


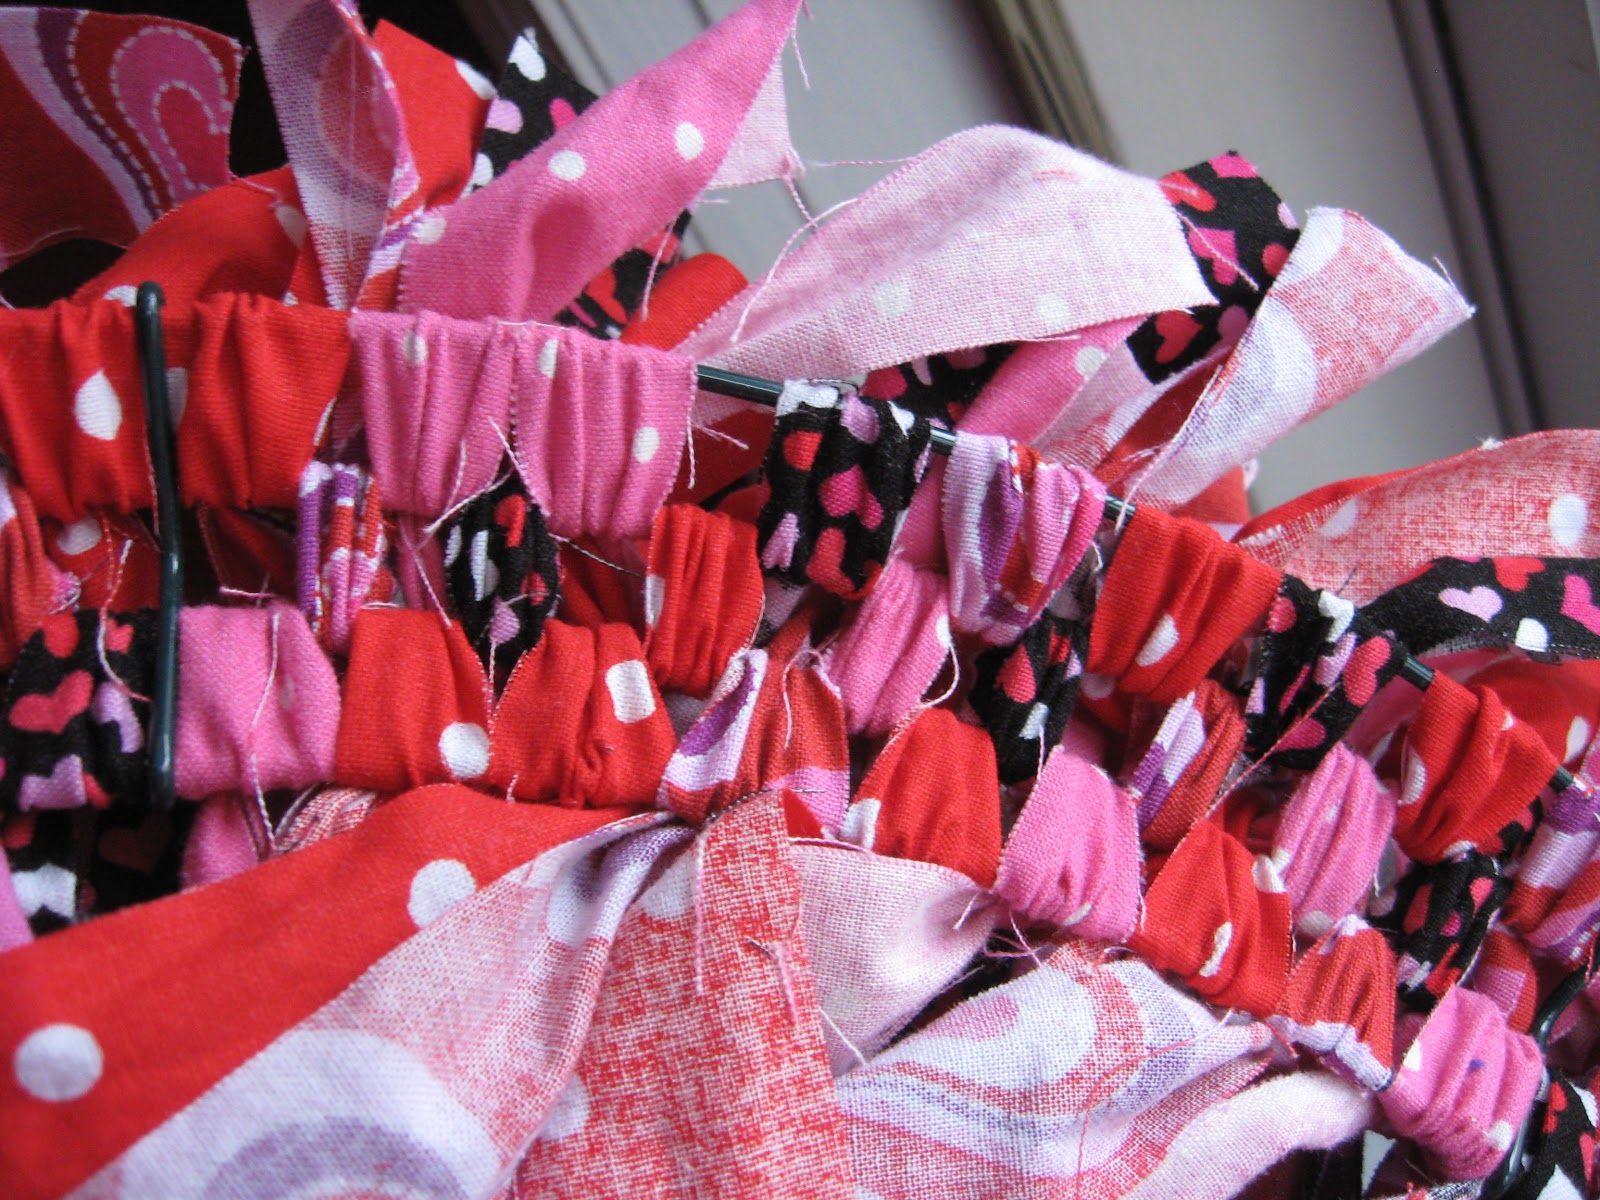
The frame is a medium size from Hobby Lobby.  We tied strips around the wreath in random order, but following the pattern of one in the middle and then one on each side.


This is the back of the wreath, just so you can see how I tied them on:


My wreath hanger is this magnetic thing that I bought at Meijer over Christmas.  I saw it mentioned on another blog and had to get one right away!


Fluffy Valentine's Day goodness.


And now our front door is gorgeous!


The girls had a blast helping me pick out the fabrics to use and tying a few strips on the wreath, although they did get tired of it after a while.  When we were finished with the wreaths, I let them design their own Valentine's Day shirts.


It not even Valentine's Day yet!  I still have a few more fun ideas planned.... :)

Sunday, December 11, 2011

Felt Card Table Playhouse Tutorial

I started the super secret sewing project last night!  (a felt card table playhouse for Esther's birthday)  Since several of you were interested, I decided to take photos as I go and post them as a sort of tutorial.  I am not including exact measurements for each piece, but I thought it would be helpful to show how I put it together.  I'll update this post each night as I work on it.  There are some FAQs and tips on Jill's website as well.  Let me know if you decide to attempt this and how it turns out!


First I drew out my pattern, deciding on colors and where I wanted to place everything.  (Ross vetoed the pink heart door in case we have a boy next.  I obliged since making a square window is much easier.)

My mother in law had a card table for me to use.  I think its a fairly standard size - 34 inches x 34 inches on top and 28 inches high.

I purchased my felt at Field's Fabric.  It comes in 72" length and cost $6.97 a yard.  My total was about $50, although I think I will end up with extra.  Here is what I got:

1 1/2 yards brown
2 yards blue
1 yard white
1/2 yard red
1/4 yard black
1/2 yard light green
1/4 yard orange
1 yard of a mesh fabric

I already had plenty of colored thread.  (Gutermann thread works best; its nice and strong.)  I also already had large pieces of green, dark blue, and small colored sheets of felt on hand.

To start, cut each of the four side pieces.  I added an inch to each side, so my brown top piece will be 36x36 and each blue wall piece is 29x35 or so.  It was difficult to get each piece exactly straight, but I can fix that a bit when I sew them all together at the end.


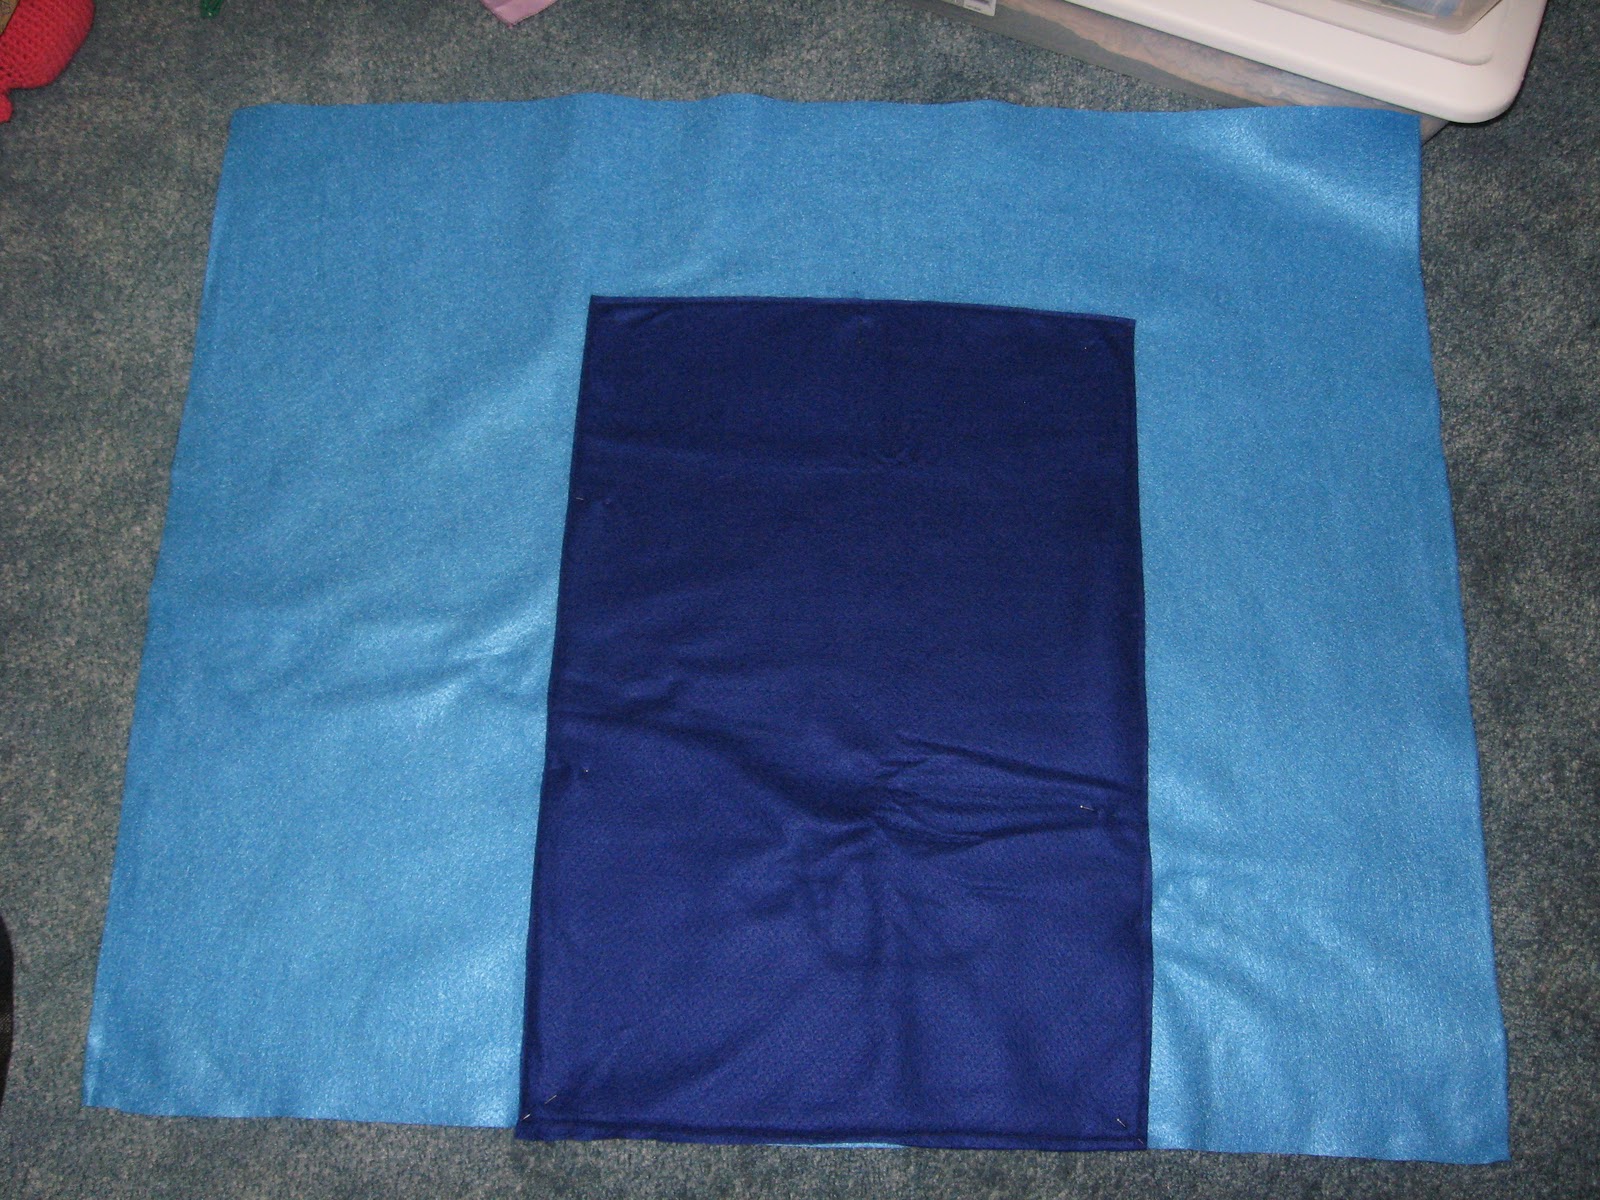
Lay out the front panel, and get started!  I cut my door out of dark blue and just laid it on top and cut it to the size I wanted.  DO NOT cut the wall panel yet, just sew the door on.  (I used dark blue thread for the main thread and a light blue for the bobbin so that the seams wouldn't show badly on the inside.)


To make a window in the door, cut a hole through both layers of felt.


Cut a piece of mesh bigger than the hole and slip it in between the layers.


You can sew the mesh to the blue first, but I cut my white trim and pinned it on, sewing all the layers at once.  I ended up sewing several lines through the trim because I wasn't catching the light blue back with the first seam.  (Again, white thread on top and light blue for the bobbin.)


For the mailbox, you have to look closely, but there is a red pocket where mail can be delivered.  I sewed the pocket and back of the mailbox on first.  The lid to the mailbox was then sewn across the bottom and has velcro holding it on.  The other half of the velcro was sewn on above the pocket.  (In other words, the velcro doesn't just stick to the felt, I did sew on the other piece of velcro once I could tell where it needed to go.)


I knew that my girls would want a doorknob inside, so this is how I accomplished that.  I cut the circle for the front knob and then placed a big black piece of felt behind it, sewing all of it on at once.  I then went back and cut around the doorknob piece on the back, making it into a nice circle as well.


After adding a bush, my front panel is almost complete!  (I tried putting flowers on the bush, but they ended up looking like spiders.)  The light blue felt needs to be reinforced on the back at the top where the door hangs because it pulls on the background a little too much.  I haven't figured that out yet...

Okay. that's it for now.  Check back in the next couple of days for more...

(Nevermind!  This pregnant mama was too tired to sew and figure out posting a tutorial too.  You can see the finished playhouse here, and of course feel free to ask me any questions if you decide to attempt this!)  :)

Wednesday, September 22, 2010

Nursing Dress Pattern


I figured out how to sew my own nursing dress!  It was very simple to do and turned out wonderfully.  I used some pre-smocked material from Field's Fabrics for the top part.  The bottom is just a regular printed fabric that I picked up to match.


I think I used 1 yard of the black and 1.5 yards of the print.  You'll just have to hold the fabric up around you and take a guess how much you'll need.  If you are planning to make straps out of the same fabric, allow some extra material.  You could also use a thick ribbon for the straps instead.


The printed material is actually like a skirt that comes all the way up to about 2 inches below the top of the black.  Below is a picture of the dress inside out so you can see how it works.  It is not attached across the front.  It is sewn in about 5 places across the back.  There is a little 1/2 inch seam up and down on either side of my hand and in three other places.  (I didn't want to sew straight across the back because I needed to allow the elastic to stretch.)


Are you confused yet?  To nurse, you just lift the smocked part up and pull the skirt part down.

After washing and drying the material, I made one seam down the black smocked fabric.  This makes it into a tube top.


Hem the bottom of your skirt material and make one seam up  the back.  Around the top, make a casing for elastic.  I used a lightweight cotton elastic that was pretty stretchy.  Try this on and adjust the elastic so that its tight, but has room to stretch.  Remember that you will be tacking this to the smocked part to make it stay up, so it doesn't have to be too tight.


Make some straps and have someone help you pin them to the smocked top in the right places.  You will want to wear your favorite bra to be sure that straps cover it nicely.  Sew on the straps and tack the skirt to the top across the back (be sure to line up the seams).  You're done!  If you have any questions please ask and I'll be happy to help.


While you're at it, make your little cutie a skirt!

Note: I found the smocked fabric at Field's Fabrics.  It came in several different colors, but is probably a seasonal item.  They also had printed sundress material that you could do the same thing with.  You would just have to cut it right below the smocked part and hem it before you begin following these directions.

I'd love see pictures if this inspires you to make one.  Thanks for stopping by.  Be sure to check back soon for more breastfeeding related reviews and giveaways.  :)

linked to Made By You Monday, Fabric Tuesday, Lucky Linky Tuesday, Works For Me Wednesday, Trendy Treehouse Creative Share, Its So Very Cheri, We Did It Wednesday, Making It With Allie

Friday, July 23, 2010

Homemade Tortillas

I've been experimenting with my grain mill lately and made some yummy tortillas.  In the past, we tried whole wheat tortillas from the store and didn't like them.  With my grain mill, I'm able to grind Kamut, spelt, hard white wheat, and more for different flavors and nutrition.  I love Kamut for tortillas!  It has a light flavor, almost like a cross between a corn tortilla and a white flour tortilla.  Julia has so far refused to eat tortillas, but gave these a try and liked them.  Here is the recipe:

2 cups flour - I prefer Kamut flour, but 1 cup Kamut and 1 cup hard white wheat works also.
1 teaspoon salt
1/4 teaspoon baking powder
1/4 cup vegetable oil 
1/2 cup lukewarm water

Mix flour, salt, and baking powder.  Add oil and mix until it forms pea sized balls.  Add lukewarm water, until dough is soft and pliable.  On a floured surface, knead dough until smooth, 1-2 minutes. 


Place in bowl, cover and let rest 30 minutes.  The dough does not rise, but this gives time for the flour to soak up the water so the dough is not too crumbly.


Knead dough again just for a minute and form 8-10 balls.  (Yes, this is only five, the other three are already rolled out.)  ;)


Roll out as thin and round as possible.  Made with all Kamut flour, they are actually very easy to roll out.


Preheat a cast iron frying pan (ungreased) and cook one at a time.   Flip it over once bubbles start to form.  This only takes about a minute - in the photo above, the tortilla is ready to be flipped.  The second side usually cooks even faster, so keep an eye on it.


Stack the finished tortillas on a plate and cover them with another plate to keep them soft.  Cook some chicken, green pepper, and onion with seasonings and you have a tasty meal!  

Find more healthy recipes here: Heavenly Homemakers Recipe Parade

Sunday, July 18, 2010

Easy Child's Dress Tutorial


I made this adorable dress for Lucy the other day during nap time.  She loves it and asks to wear it all the time.  We found some fabric at Joann's that was already smocked at the top and just did one seam up the back to make the dress.  Julia wanted one too, so I made a tutorial while I did hers.  

We found her fabric on clearance at Hobby Lobby for just $4.  Field's Fabric also had some in various lengths.  I used one yard for each dress - just wrap it around your little one to see how much you need.  If you plan to use fabric for the straps, you'll need 8 inches extra.  A thick ribbon can also be used for straps.

Just to clarify, for this tutorial, the words refer to the picture above.


You'll need your little model nearby while you sew.  Wrap the fabric around her and loosely measure where your seam needs to be.  I made Lucy's dress a little bit big so that she'll have room to grow.  Fold the fabric over on top of itself with the right sides together.  Sew one seam down the full length of the dress. When you get past the smocked part, your seam will jog over to the right just a bit because of the extra gathered fabric.  Hold the bottom edges evenly together to help you sew an straight seam.


Cut just to the side of your seam.  (You can also cut the fabric first and then sew, I just found it to be easier this way.)  


Go back over your seam with a zigzag stitch on the edge to prevent fraying.  
Now you'll make the straps:


Take your extra fabric piece and cut the smocking off.  Iron this flat, and then cut two 4 inch strips.  This will make 1 inch wide straps.


Fold one strip in half and iron it flat.


Open it back up.  Take the bottom edge and fold it up to the middle.  Iron.


Take the top edge and fold it in toward the middle as well.  Iron.  Fold the strap in half again, the raw edges will be tucked inside.


Sew down one edge, across the end, and back up the other side.  When you get to the end, fold it up and catch it in your seam.  The other end of the strap still has a raw edge.  Repeat the above steps so that you have two straps.  


Try the dress on your little one again and pin the straps where you like them.  Be sure you have the seam of the dress in the back.  I placed the straps so that they angle out just a bit.


You'll have to convince your model to hold still while you adjust the straps.  Good luck with that.  ;)


Sew each strap on.


I left the straps long so that I can adjust the dress next year.  Tuck the extra under and sew another quick seam just through the strap to hold it together.  


I used the full length of the fabric, so there was no need to hem.


There you have it!  Let me know if you have any questions.  I'd love to see pictures if you make one.