Showing posts with label craft idea. Show all posts

Friday, January 24, 2014

Valentine's Day - lots of links!

My little ones are fighting off colds and fevers right now.  On Tuesday, my mother-in-law was here and let me make a quick run to the fabric store.  I got sidetracked by all the fun heart prints right by the door and decided that if my kids are going to be sick, new Valentine's Day pillowcases might cheer them up.  :)  I stayed up late last night finishing these and left them on the girls' beds for them to find in the morning.


Today I managed to finish Isaac's pillowcase too.

The girls and I made a new canvas this week too.  We painted the background pink and while the paint was still wet, we added hearts that we had punched from various papers.  We left one corner blank and after it all dried, I added "love" to it.  It is fun to have this hanging on our wall and know that we all worked together one it!  :)


Other Valentine's Day posts you might like:


Tuesday, July 30, 2013

American Girl Doll T-shirts

Today we decorated t-shirts for our American Girl dolls.  Lucy and Julia can sew skirts for their dolls, but shirts are too challenging right now.  I spent some time searching online for doll shirts, and finally decided to try Gerber newborn size onesies.  It worked!  (Actually, Carter's preemie size works better but they are harder to find.)


I simply cut the bottom off the onesies and then let the girls decorate them with fabric markers.


Esther made a onesie for her Bitty Baby, but it ended up being too long on her.  (We have some Carter's preemie clothes and they are long as well, but better.)


I'm already thinking up more ways we can decorate shirts: matching 4th of July shirts, matching Christmas shirts, sew something on the shirt, paint on the shirt, etc.


We'd love to hear what ideas you come up with!

Wednesday, July 17, 2013

PVC Pipe Ball Drop

I recently saw this idea on Pinterest and went a little crazy with it.


The idea is simple.  Pick out some PVC pipe pieces, drill holes in them and insert suction cups.  These can be used on a window or glass door to make a fantastic ball drop, or in the bath tub to pour water through.


Lucy and I had fun picking out lots of different shaped pipes.  They ranged in price from 63 cents to several dollars for the bigger pieces.


We found suction cups and bouncy balls at Hobby Lobby.  Just be sure the suction cups have an indented part, you will need that to keep them wedged into the pipes.  The bouncy balls were by the party supplies.


Ross used a clamp to hold the pieces in place while drilling through them.  We popped the suction cups in, and have been enjoying our new toy ever since!  It really is great for all ages; the big kids make the configurations and the little ones have a blast dropping the balls through.

Wednesday, July 10, 2013

Pretty Pens!

This is probably one of my favorite Pinterest finds ever.  You know those clear pens that unscrew?  Roll up pretty paper and put it inside!  Mind. blown.  Every homeschool mama needs pretty pens!  My girls are excited to make a few of their own as well.


I will have to remember these for teacher gifts, shower favors, etc.  So easy and pretty.  :)

If you are looking for pens, Amazon has a good price on them.  I paid $4 for 5 at Office Max.  These are about $7 for 12.  Have fun!


Thursday, February 7, 2013

Easy Heart Garland

Thanks, Pinterest for another super awesome easy craft idea!

The girls and I strung beads on pipe cleaners, twisted them into heart shapes, and linked them together.  Now our curtain rod is all ready for Valentine's Day.  :)


Wednesday, February 6, 2013

More Valentine's Day Decorations

I already shared our rag wreath and the mailboxes that we are having a blast with.  Today I whipped up these adorable kitchen towels and finished a wall decoration.  Ok, I didn't whip them up, they sat on my table for two weeks until I finally had time to sew them...

I used ribbon that I had on hand and fabric left over from the wreath.  The towels are actually fluffy bathroom hand towels that I picked up at Meijer for $3 each.


Our wall decoration turned out more Mickey Mouse-ish than Valentine's-ish.  Oh well.  The kids like that it has their names on it; I like that it contributes to a sense of family and togetherness.


We used 29 cent wooden hearts from Hobby Lobby, black acrylic paint, a white paint pen, and a spool of ribbon.  The ribbon is hot glued around a D ring at the top for hanging.  I let the girls help paint the black, and considered letting them write their own names.  Only Lucy and Julia are old enough to do so and I thought it would look odd with my handwriting on all of the rest so I decided against that.  


I'm enjoying decorating our home for Valentine's Day and the kids are excited about these special touches.

Tuesday, February 5, 2013

Valentine's Day Mailboxes

We are having a blast with these Valentine's Day mailboxes:


The girls created them on the last day of January.  Every day since then, they've woken up to find little love notes tucked inside.  They've been busy cutting out hearts and secretly stashing love messages in each other's jars as well.  Grandma and Grandpa even gave me an envelope full of valentines that they already signed, to dole out to the girls.  So far I've given simple cut out hearts, a sucker, a quarter, leftover Winnie the Pooh Valentines from last year, etc.  I think I'll write some secret messages soon.  I love spreading the love out over the beginning of February like this!  The little tub on the end is mine and it is already full of precious little hearts and drawings and love.  :)

Wednesday, January 30, 2013

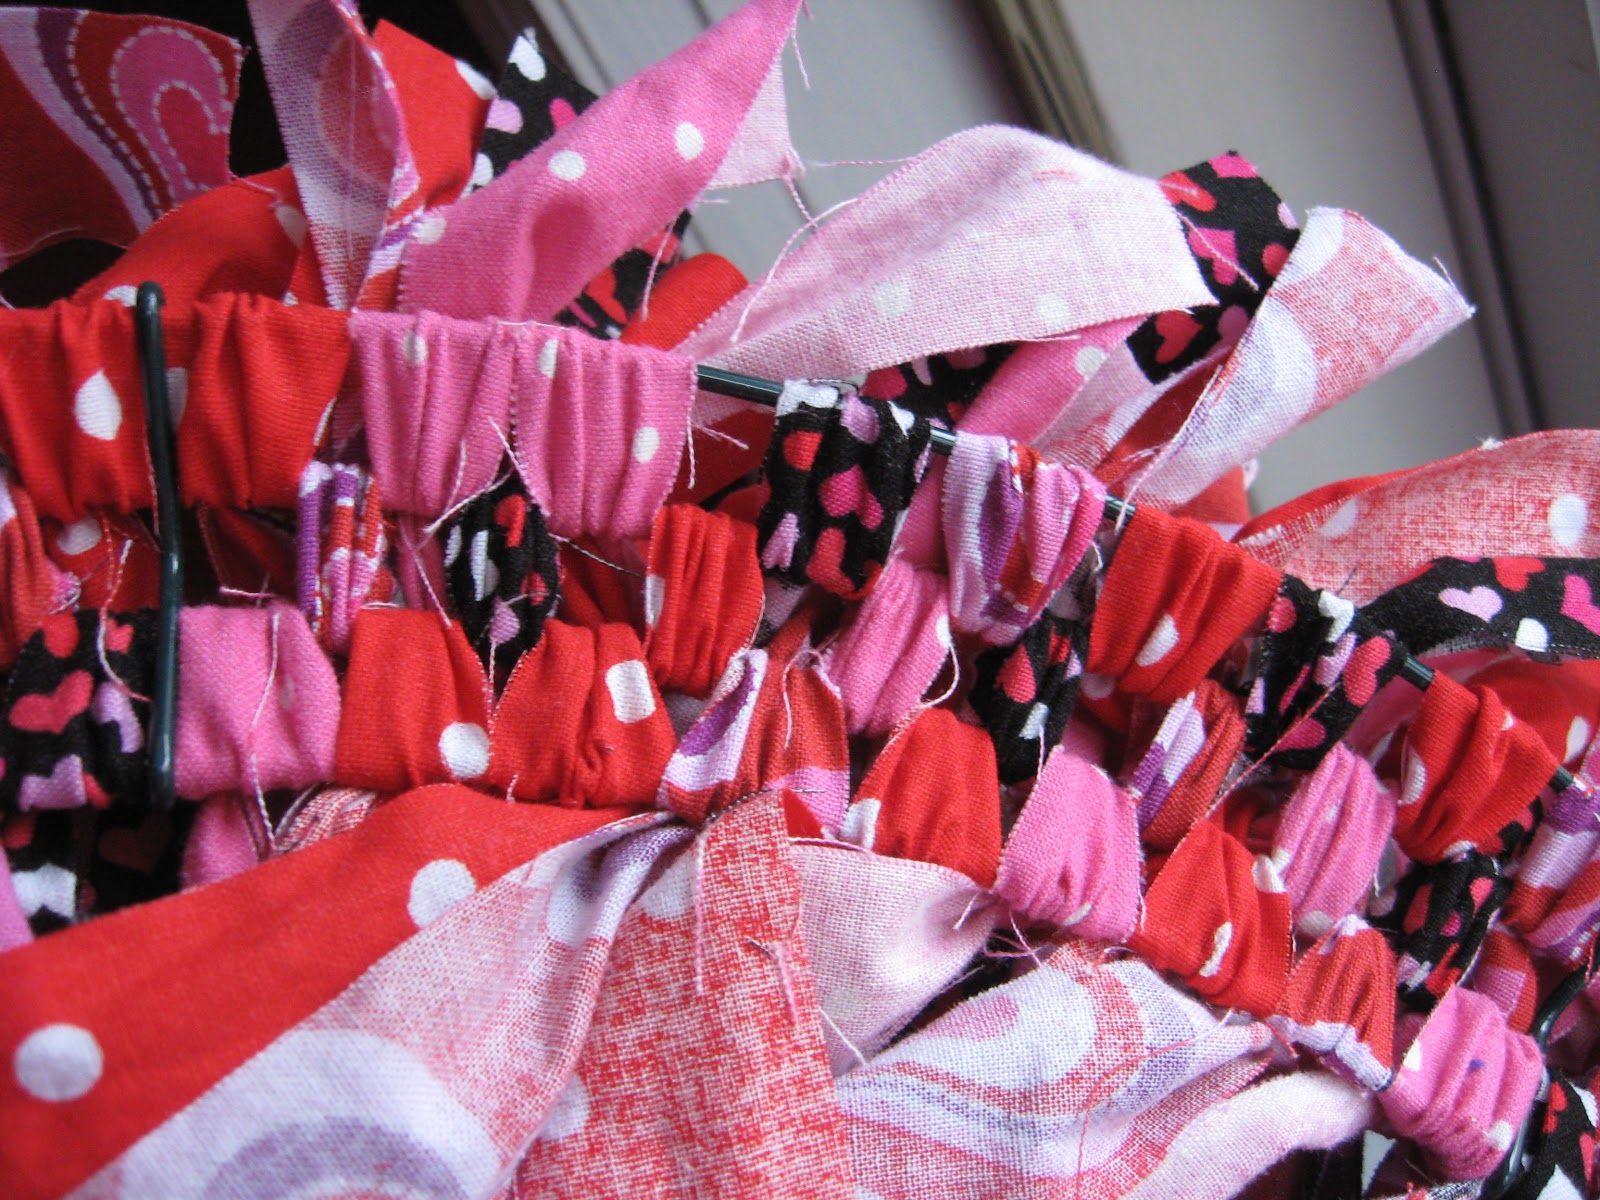
Valentine's Day Rag Wreath

I convinced the kids to let me take down the Christmas tree by telling them we could decorate for Esther's birthday party.  After the party (Jan 8) they wanted something else to decorate for, so we jumped right into Valentine's Day!


One of my Christmas gifts was this awesome rotary cutter and mat.  I gave it a workout cutting hundreds of fabric strips.  I used four different fabrics, cutting each into 9" x 1" pieces.  We made two wreaths (one for Grandma's house) and I think we used about 3 yards total of fabric.  I'm not sure exactly though, as I did have to run back to the store for more and I can't find my receipts to check.


The frame is a medium size from Hobby Lobby.  We tied strips around the wreath in random order, but following the pattern of one in the middle and then one on each side.


This is the back of the wreath, just so you can see how I tied them on:


My wreath hanger is this magnetic thing that I bought at Meijer over Christmas.  I saw it mentioned on another blog and had to get one right away!


Fluffy Valentine's Day goodness.


And now our front door is gorgeous!


The girls had a blast helping me pick out the fabrics to use and tying a few strips on the wreath, although they did get tired of it after a while.  When we were finished with the wreaths, I let them design their own Valentine's Day shirts.


It not even Valentine's Day yet!  I still have a few more fun ideas planned.... :)

Wednesday, December 19, 2012

Snowflake Canvas

We had a blast making snowflake canvases the other day!

planning her design

cover the whole canvas

5 different blues to choose from


We found the idea via Pinterest here.

Monday, November 19, 2012

Paper Doll Obsession

This is what my kitchen table looks like all the time now:


My girls are currently obsessed with crafting paper dolls from makingfriends.com.  We print bodies, hair, and clothes in various themes.  The girls color, cut them out, and glue them together.  When they are finished, I laminate them so that they are sturdy for play.


This is only a small selection; we probably have fifty or so of these guys around:


In an effort to contain the mess a bit, I came up with a storage system: a folder with a page protector in the middle.  Full papers can be stored in the pockets, and little cut-outs go in the clear page.  Finished paper dolls are stored in a ziploc bag.  Each girl has her own folder and ziploc bag.


This has kept them happy for hours on end!  In fact, Lucy just came and asked me to, "Please print off a few more?"  :)

Thursday, April 12, 2012

Butterfly Scripture Canvas


My mom is here visiting from Texas this week.  Aside from getting in lots of baby snuggle time, she helped me paint this beautiful canvas for the girls' bedroom.  We used this scripture art and this butterfly canvas for inspiration.  Psalm 4:8 was one of our memory verses earlier this year.  Lucy and Julia both know it by heart and say it at bedtime when they are afraid.  I've had a little paper posted in their bedroom with the verse written on it, but wanted a better way to display it.  I absolutely love how this turned out!

We used a 22"x28" canvas, acrylic paint, watercolors, watercolor paper, a black paint marker, and a butterfly punch.


Everyone helped paint the canvas.  It took a couple of coats (2 bottles of the paint).


We used watercolors to make bright pictures with splotches of color.


My mom wrote the words on the canvas with a pencil first, and then the paint marker.  We punched butterflies out of the watercolor paintings and used hot glue to stick them on.


I love, love, love it!

(For more ideas on how to creatively display scripture in your home check out the Write Them on the Doorposts contest.)