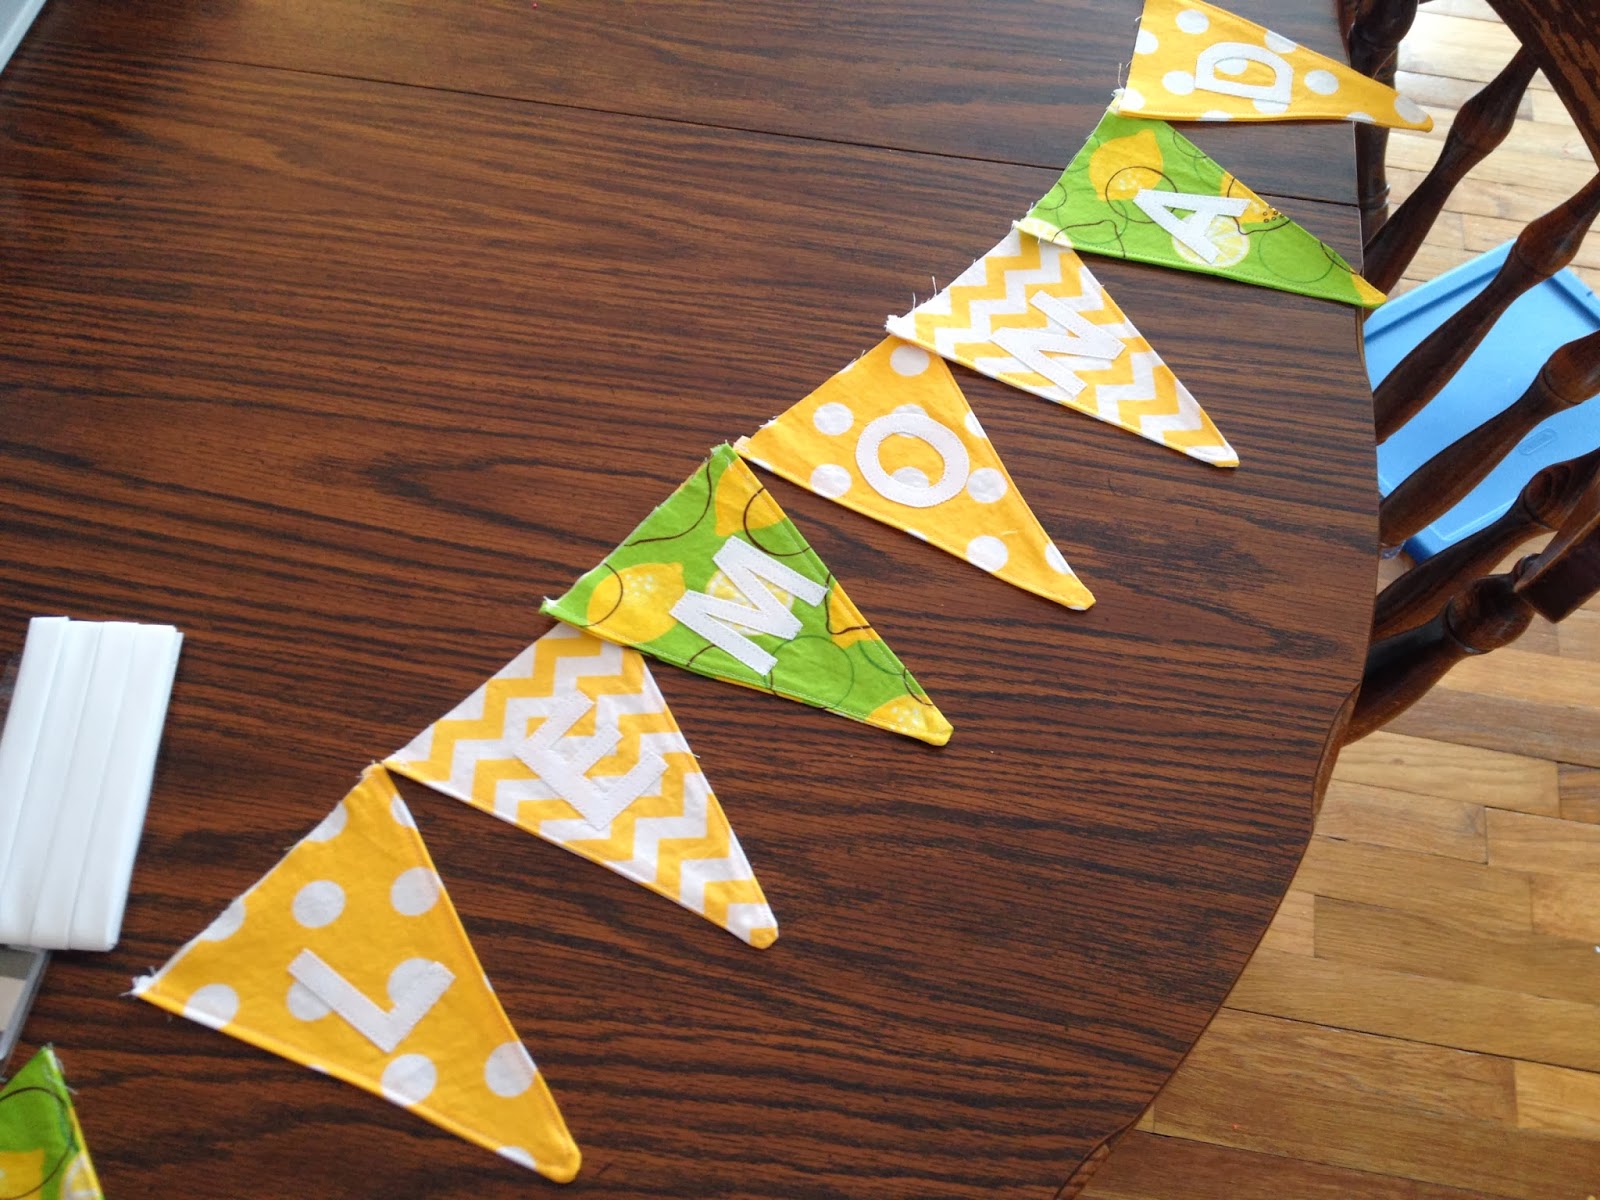
I've been wanting one of these for several years now! As a child, we had a paper "Happy Birthday" banner that hung in our kitchen whenever someone had a birthday. I loved it so much that I wanted a special homemade fabric one to use with my own family. I'm not sure why I waited so long. It was so easy to do that I whipped up another and took photos along the way for you.
This banner is smaller than the birthday one, and says "Lemonade" on it. The kids like to do a lemonade stand in the spring and this is going to be a fun touch. :) I chose three fabrics for this one, it doesn't take much of each.
I first drew a triangle shape on a manilla folder and cut it out. My birthday banner triangle was 7 inches across the top and 9 1/2 inches from the center of the top down to the point. The lemonade banner was smaller, 5 inches across the top and 7 inches down to the point. Obviously you can make these any size you want.
Place your fabric so that you are cutting through two pieces at once; you'll want both a front and a back for each triangle. As you can see in the photo, they can be cut right next to each other. Take into consideration which way you want the fabric's design to be. (Zig-zags going up and down, or sideways?)
Sew each triangle, right sides facing each other, down one side and up the other, leaving the top open. As in the photo above, snip off just the tip of the triangle so that there is less bulk in the tip when you turn it.
Turn the triangle right side out, using a pencil's eraser end to be sure the tip is completely turned. Sew down one side and up the next, just as you did before, still no need to sew across the top. This gives the pennant a nice finished look and helps it to lay flat. Clip your extra threads as you go.
After you've finished sewing the triangles, you can work on your lettering applique. (Sew Sara has a
great tutorial on this here too.) On the computer, choose a font and print size that you like. You can make the letters outline only to save on ink. Print your design and double check that the size of the letters will work on the triangles. Adjust and print again if you need to. When you are happy with the size, flip the paper over and trace the letters so that you can see them clearly.
Place your Heat N Bond Lite over the letters and trace them again, being sure they are still backwards.
Cut around your letters in a big rectangle and iron them on to the fabric you are using for them. (I used an extra thick white so that the colors of the other fabrics wouldn't show through my letters.)
Cut each letter out. Using a ruler, decide on a good distance for the letters to be from the tip.
(Hint: use your fattest letter to be sure it will fit where you want to place it. The "M" wouldn't have fit any lower down.) As long as you use this same distance, your letters should be aligned nicely.
Iron them all on, and lay out your design. You probably have already thought about what colors you want to place where and ironed on the letters accordingly. :) I have a blank lemon print triangle at the front and end of my banner.
You can see in the corner of this picture that I have some white double fold bias tape to use as the top string. I used one 3 yard package for the lemonade banner and two packages for the birthday banners. Find the center of that tape, and then find the center of your letters. Starting there, sew down one side, adding in the triangles as you go. After you get to the end of the banner, keep sewing to close the bias tape, all the way to the end.
You will then go back to the middle of the tape and sew the other direction, putting in the rest of the triangles going toward the other side. Again, sew all the way down the bias tape, closing it up.
You're done! Admire your handiwork:
Here is another one I made in Barefoot Book colors, to have at my parties or vendor shows:
Let me know if you end up making one, I'd love to see photos.

 and the frosting recipe from The Healthy Gluten-Free Life: 200 Delicious Gluten-Free, Dairy-Free, Soy-Free and Egg-Free Recipes!
 . The chocolate chip "rocks" are Enjoy Life brand. I used these Toystate Caterpillar Construction Mini Machine 5-Pack
 as the cake topper. They also served as table decorations and party favors too. The napkins and plates we found at Hobby Lobby. Some yellow streamers along with these fun 7" Traffic Signs made easy decor.