
First I drew out my pattern, deciding on colors and where I wanted to place everything. (Ross vetoed the pink heart door in case we have a boy next. I obliged since making a square window is much easier.)
My mother in law had a card table for me to use. I think its a fairly standard size - 34 inches x 34 inches on top and 28 inches high.
I purchased my felt at Field's Fabric. It comes in 72" length and cost $6.97 a yard. My total was about $50, although I think I will end up with extra. Here is what I got:
1 1/2 yards brown
2 yards blue
1 yard white
1/2 yard red
1/4 yard black
1/2 yard light green
1/4 yard orange
1 yard of a mesh fabric
I already had plenty of colored thread. (Gutermann thread works best; its nice and strong.) I also already had large pieces of green, dark blue, and small colored sheets of felt on hand.
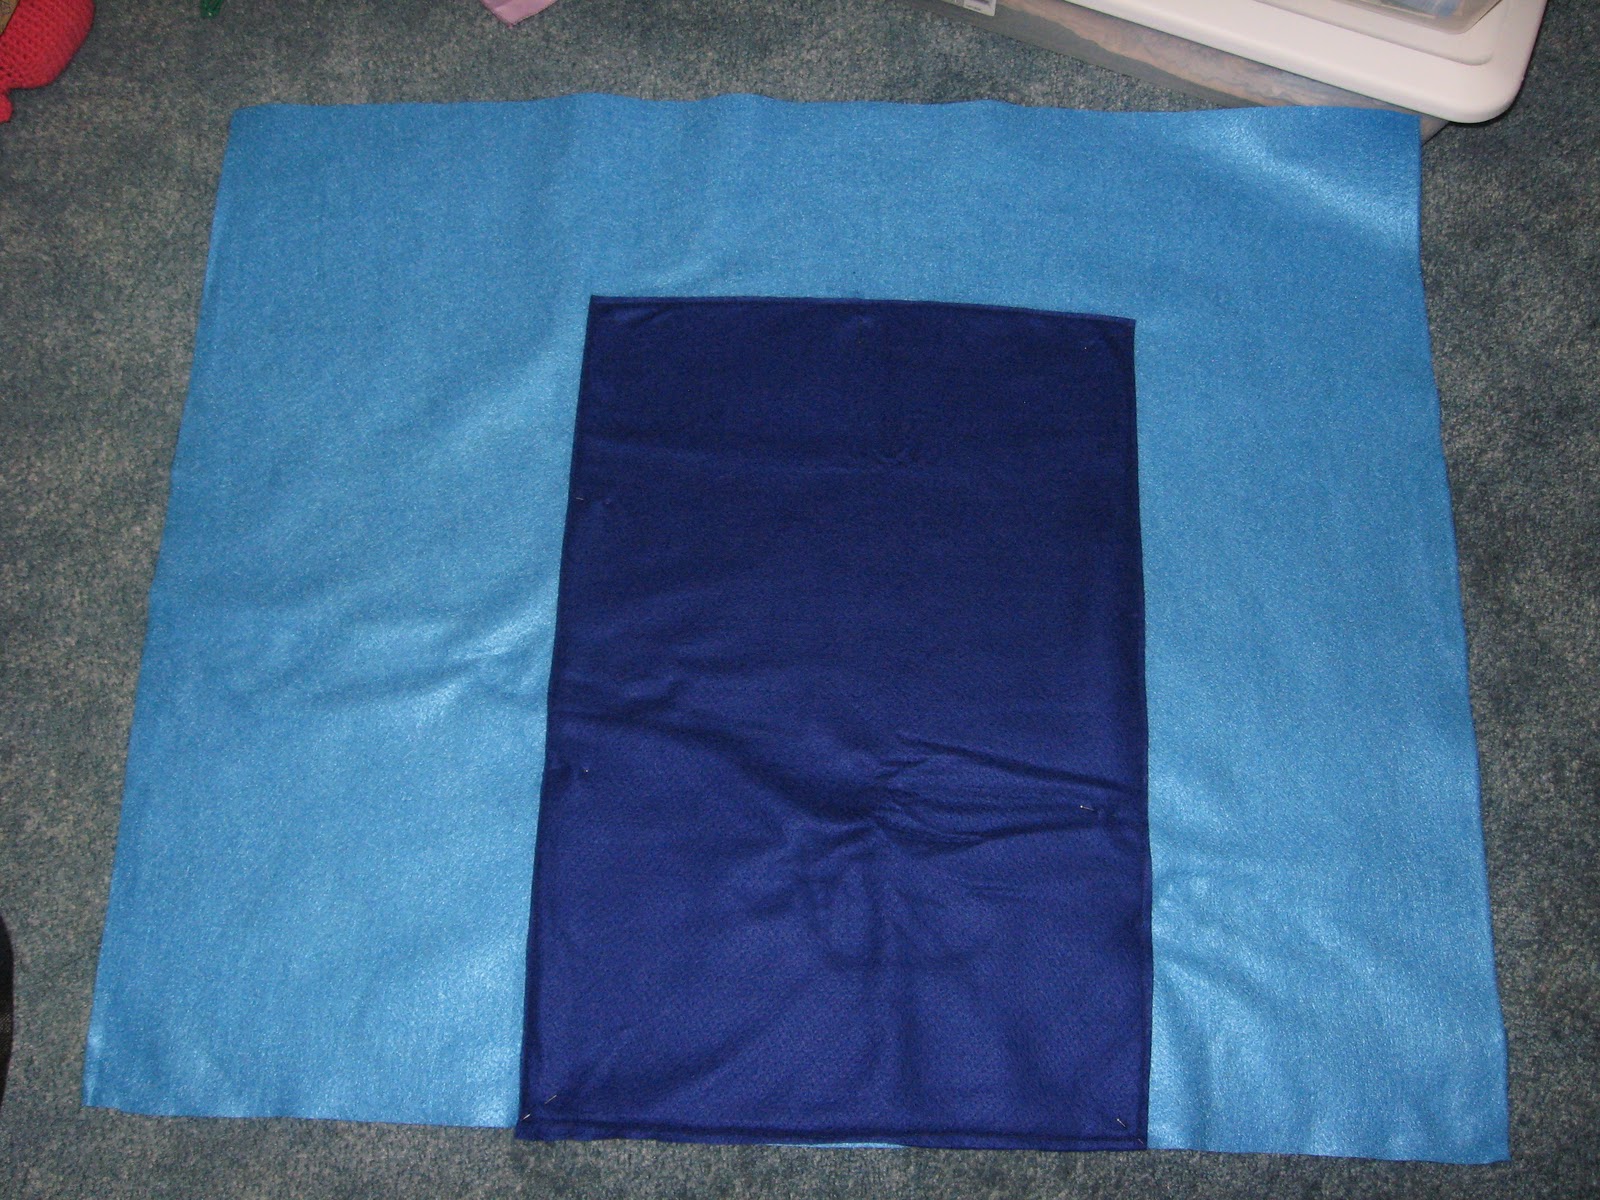
To start, cut each of the four side pieces. I added an inch to each side, so my brown top piece will be 36x36 and each blue wall piece is 29x35 or so. It was difficult to get each piece exactly straight, but I can fix that a bit when I sew them all together at the end.
Lay out the front panel, and get started! I cut my door out of dark blue and just laid it on top and cut it to the size I wanted. DO NOT cut the wall panel yet, just sew the door on. (I used dark blue thread for the main thread and a light blue for the bobbin so that the seams wouldn't show badly on the inside.)

To make a window in the door, cut a hole through both layers of felt.

Cut a piece of mesh bigger than the hole and slip it in between the layers.

You can sew the mesh to the blue first, but I cut my white trim and pinned it on, sewing all the layers at once. I ended up sewing several lines through the trim because I wasn't catching the light blue back with the first seam. (Again, white thread on top and light blue for the bobbin.)

For the mailbox, you have to look closely, but there is a red pocket where mail can be delivered. I sewed the pocket and back of the mailbox on first. The lid to the mailbox was then sewn across the bottom and has velcro holding it on. The other half of the velcro was sewn on above the pocket. (In other words, the velcro doesn't just stick to the felt, I did sew on the other piece of velcro once I could tell where it needed to go.)

I knew that my girls would want a doorknob inside, so this is how I accomplished that. I cut the circle for the front knob and then placed a big black piece of felt behind it, sewing all of it on at once. I then went back and cut around the doorknob piece on the back, making it into a nice circle as well.

After adding a bush, my front panel is almost complete! (I tried putting flowers on the bush, but they ended up looking like spiders.) The light blue felt needs to be reinforced on the back at the top where the door hangs because it pulls on the background a little too much. I haven't figured that out yet...
Okay. that's it for now. Check back in the next couple of days for more...
(Nevermind! This pregnant mama was too tired to sew and figure out posting a tutorial too. You can see the finished playhouse here, and of course feel free to ask me any questions if you decide to attempt this!) :)
Yay! Glad you are posting a tutorial. I showed my mom the link you posted the other day to see if she could make one for K. I DO NOT sew...I am way too much of a perfectionist and it stresses me out! An easy tutorial may be a good way to help talk her into helping me...a lot. :)
ReplyDeleteSorry this tutorial stops short! Let me know if you attempt it and have any questions. :)
DeleteThis is a great tutorial! Thank you for posting it. I love the finished results too. I attempted one a few months ago with another tutorial, and it was really hard and turned out so sloppy looking. In the end, I used a lot of hot glu because sewing it was a nightmare. Your approach is so much more practical than how I did it the first time. I'm now ready to start again. Did you find a way to reinforce the felt in the weak areas? I was thinking maybe making a felt sandwich with one more piece of matching felt and Heat N Bond ironed to the existing piece. I did that for my window frames to give them some structure and it seemed to work out okay. I actually used a little heavier iron-on interfacing too. I made a PVC playhouse so it's taller and larger and will use the cardtable playhouse ideas to cover it. I have 2 yr old twins and a 4 year old. There is no way all 3 girls can fit inside that card table playhouse at the same time. They will end up fighting over a certain spot and destroying all of my hard work. I thought about making the walls with duck cloth or ripstop fabric, but I bought felt because it was on sale. :-)
ReplyDeleteThanks Brigitte! I did end up sewing a frame around the door, if you look at the finished pictures you can see how its just sew on top around the door. So far its holding up well! I'd love to see pictures when you're done! :) Sounds like a good idea for making the windows sturdy too.
DeleteIt's been 6 months...how is the felt holding up with lots of play?!
DeleteSaska, its doing great! :)
Delete