Saturday, December 17, 2011

Tex-Mex Chicken Appetizers

We ate these tasty little appetizers for lunch today because I wanted to test out the recipe before bringing them to a couple of holiday events.  I enjoyed these once at a Pampered Chef party but had never made them myself.  The recipe is easy enough to mix up and has a delicious flavor.  Ross' only suggestion was to add a slice of jalapeno pepper to the top.  I think they are perfect as is.  They are different enough than your average party food that I think they will be a success!


Tex-Mex Chicken Appetizers

1 loaf canape French bread*
Slice into about 20 slices and arrange on a baking stone.

1 10 oz can chunk white chicken, drained and flaked**
1/2 cup finely chopped onion
1/2 cup finely chopped green bell pepper
1/2 cup shredded cheddar cheese
1/4 cup mayonaise
1 garlic clove, minced
3/4 tsp chili powder
1/2 tsp cumin
1/4 tsp salt
Add all ingredients to a bowl and mix well.  Using a medium scoop or spoon, place one scoop on each slice of bread and gently smash it down.

2-3 plum tomatoes, sliced
1/2 cup shredded cheddar cheese
Top each slice of bread/ chicken mixture with one slice of tomato.  Sprinkle cheese over tops.

2 Tbs chopped fresh cilantro or parsley
Bake at 350 for 15-18 minutes until bread starts to brown and cheese is melted.  Sprinkle with cilantro.  Serve warm.

Notes:
*I found canape bread already sliced at the grocery store.  This is basically just a small loaf of bread about 2-3" across.
**I used a pouch of chicken that was 7 oz, figuring it was probably equal to 10 oz since you don't have to drain it?  You can also use 1 1/2 cups chopped cooked chicken.
***I left off the cilantro because I didn't have any on hand.

What is your favorite holiday party food?  Let me know if you give these a try!

Thursday, December 15, 2011

A Toy Garden (Review and Giveaway!)

I always enjoy browsing A Toy Garden for unique natural toys that my girls will love.  They have a huge selection of interesting items that I end up looking at for hours.  Seriously... stocking stuffers, dolls and gnomes, travel toys, and more.


We recently got to review some absolutely gorgeous toys - the small tractor and trailer and the farm animals boxed set.  Esther especially enjoys these and has played with them quite a bit.  Both sets are made of hardwood and beautifully finished.


I love that the animals are made of different colored wood; it adds character and fun to the set.  If you've ever priced wooden animals, $24.95 is a really good deal for eight pieces.  These are perfectly sized for little hands to play with.  Esther likes to fit them all into the trailer.  (Sometimes the cow drives, watch out then!)  The animals do have some thin parts to them (legs, etc), but they are very sturdy.


The tractor and trailer is expertly made and will definitely be an heirloom toy!  The trailer attaches easily to the tractor, and can pull quite a load of animals at once.  ;)  The peg person comes out of the tractor for play.  Both of these sets would make wonderful Christmas gifts for any little person.  I love toys like this and feel so much better about spending money on them rather than plastic junk that will not last.

I'm so excited to announce that A Toy Garden is giving away a Small Tractor and Trailer set to one of you!  To win, do any of the following and leave a separate comment for each entry (for a total of four possible entries).  Be sure to include your email address so that I have a way to contact you.

- follow or email subscribe to One Little Word She Knew
- share about this giveaway on your blog/ Facebook/ or some other way
- like A Toy Garden on Facebook
- subscribe to A Toy Garden's email list (at the top of their home page)

If you're interested in purchasing the small tractor and trailer set, go ahead and do that now.  If you are the lucky winner, A Toy Garden will gladly refund your purchase price.  The giveaway will close on December 21 at midnight.  Many thanks to A Toy Garden for this fun holiday giveaway!

*Now Closed.  Congrats to Domestic Diva!*

Sunday, December 11, 2011

Felt Card Table Playhouse Tutorial

I started the super secret sewing project last night!  (a felt card table playhouse for Esther's birthday)  Since several of you were interested, I decided to take photos as I go and post them as a sort of tutorial.  I am not including exact measurements for each piece, but I thought it would be helpful to show how I put it together.  I'll update this post each night as I work on it.  There are some FAQs and tips on Jill's website as well.  Let me know if you decide to attempt this and how it turns out!


First I drew out my pattern, deciding on colors and where I wanted to place everything.  (Ross vetoed the pink heart door in case we have a boy next.  I obliged since making a square window is much easier.)

My mother in law had a card table for me to use.  I think its a fairly standard size - 34 inches x 34 inches on top and 28 inches high.

I purchased my felt at Field's Fabric.  It comes in 72" length and cost $6.97 a yard.  My total was about $50, although I think I will end up with extra.  Here is what I got:

1 1/2 yards brown
2 yards blue
1 yard white
1/2 yard red
1/4 yard black
1/2 yard light green
1/4 yard orange
1 yard of a mesh fabric

I already had plenty of colored thread.  (Gutermann thread works best; its nice and strong.)  I also already had large pieces of green, dark blue, and small colored sheets of felt on hand.

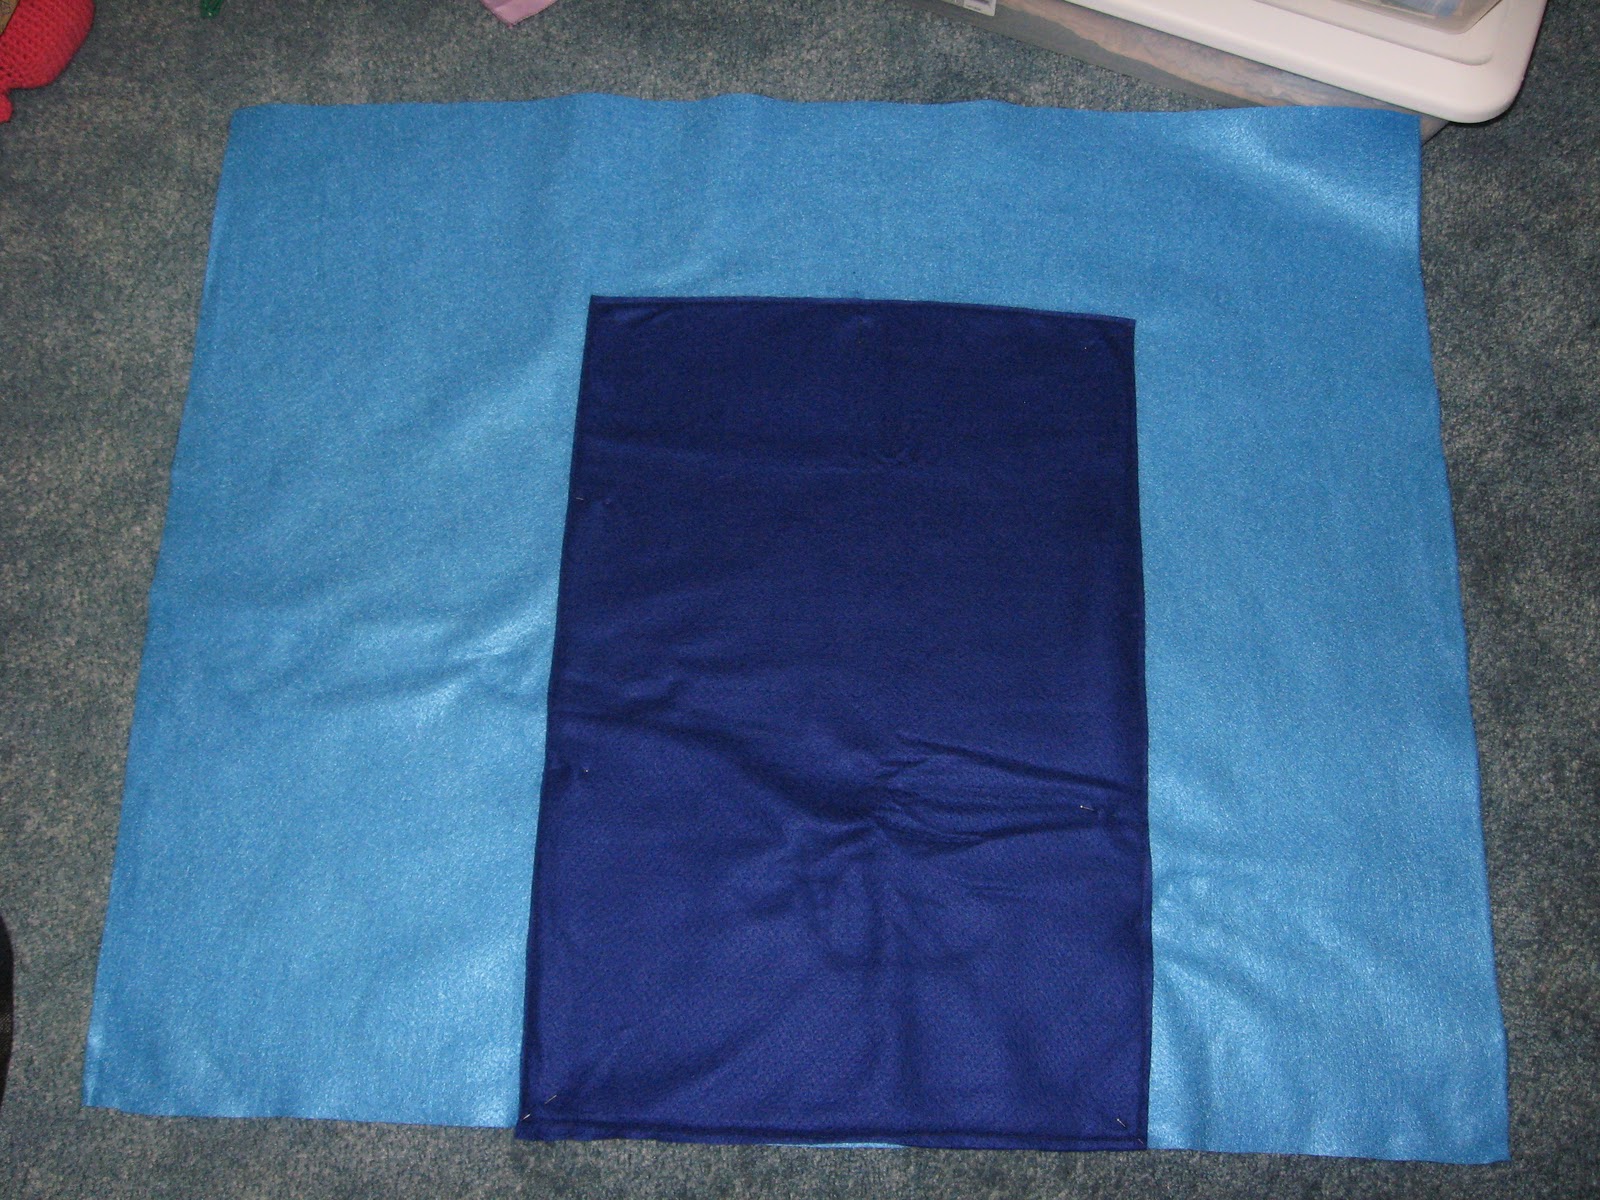
To start, cut each of the four side pieces.  I added an inch to each side, so my brown top piece will be 36x36 and each blue wall piece is 29x35 or so.  It was difficult to get each piece exactly straight, but I can fix that a bit when I sew them all together at the end.


Lay out the front panel, and get started!  I cut my door out of dark blue and just laid it on top and cut it to the size I wanted.  DO NOT cut the wall panel yet, just sew the door on.  (I used dark blue thread for the main thread and a light blue for the bobbin so that the seams wouldn't show badly on the inside.)


To make a window in the door, cut a hole through both layers of felt.


Cut a piece of mesh bigger than the hole and slip it in between the layers.


You can sew the mesh to the blue first, but I cut my white trim and pinned it on, sewing all the layers at once.  I ended up sewing several lines through the trim because I wasn't catching the light blue back with the first seam.  (Again, white thread on top and light blue for the bobbin.)


For the mailbox, you have to look closely, but there is a red pocket where mail can be delivered.  I sewed the pocket and back of the mailbox on first.  The lid to the mailbox was then sewn across the bottom and has velcro holding it on.  The other half of the velcro was sewn on above the pocket.  (In other words, the velcro doesn't just stick to the felt, I did sew on the other piece of velcro once I could tell where it needed to go.)


I knew that my girls would want a doorknob inside, so this is how I accomplished that.  I cut the circle for the front knob and then placed a big black piece of felt behind it, sewing all of it on at once.  I then went back and cut around the doorknob piece on the back, making it into a nice circle as well.


After adding a bush, my front panel is almost complete!  (I tried putting flowers on the bush, but they ended up looking like spiders.)  The light blue felt needs to be reinforced on the back at the top where the door hangs because it pulls on the background a little too much.  I haven't figured that out yet...

Okay. that's it for now.  Check back in the next couple of days for more...

(Nevermind!  This pregnant mama was too tired to sew and figure out posting a tutorial too.  You can see the finished playhouse here, and of course feel free to ask me any questions if you decide to attempt this!)  :)

Wednesday, December 7, 2011

Secrets

a trip to Illinois for Thanksgiving to be with family and celebrate my Grandpa's life and passing

secret sewing projects: (a superhero cape for a special little boy!)

another secret sewing project that I am so excited about!  (for Esther's birthday)

snuggles and books

playing games

and so much more!
What's keeping you busy this December?